Here’s everything you need to know about making coffee in a stovetop percolator, including how much coffee to use and how long to percolate the coffee. From comprehending the physics of the simple percolator to making the ideal cup, this book will provide you with the information you need to go on a voyage of delightful discovery.
What Is a Coffee Percolator?
A coffee percolator, also known as a stovetop coffee maker, is brewing equipment that combines gravity and heat to prepare a pot of coffee. Unlike other brewing systems, Percolators constantly cycle hot water through the coffee grounds, resulting in a robust, full-bodied cup.
How Does a Percolator Work?
Heat: The water in the percolator’s base is heated, forcing it to rise via a tube.
Percolation occurs when hot water reaches the top of the tube and sprays over the coffee grinds in the filter basket.
Extraction: As the hot water flows over the grinds, it extracts flavor and oils, resulting in coffee.
Gravity: The coffee then drops back into the base, completing the cycle.
This procedure is repeated until the coffee is ready, producing a powerful and robust brew.
How to make coffee in a stovetop percolator
Ingredients to make coffee in a stovetop percolator:
To make coffee in a stovetop percolator, you will need freshly ground coffee, filtered water, and, optionally, coffee filters.
Directions:
Step 1: Prepare the percolator
Wash the percolator well with hot water and soap.
Fill the base halfway with fresh, filtered water.
Step 2: Add the grounds
If desired, insert a coffee filter into the filter basket.
Fill the filter basket halfway with coffee grounds. A decent rule of thumb is 1-2 teaspoons of coffee per cup of water.
Replace the filter basket in the percolator.
Step 3: Heat the percolator on medium-high.
Once you have all your ingredients in the percolator, the next step is to heat it. Set the heat to medium-high, ensuring it is not too hot or cold. Secure the lid of the percolator to keep the heat and flavor from escaping.
Heat the percolator for about 5 minutes before turning the heat down to low. Monitor the percolator to make sure it does not boil over. You can now enjoy a perfectly brewed cup of coffee.
Step 4: Perk!
Reduce the heat to low and let the coffee percolate for 5-10 minutes, depending on your chosen strength.
When the coffee starts to spit and gurgle, it’s ready.
Step 5: Allow the coffee to rest.
Remove the percolator from the heat and set it aside for a few minutes to enable the grounds to settle.
Letting the percolator rest after you switch off the heat is essential. This will allow the coffee grounds to settle and the liquid time to cool down.
It will also help you achieve the desired strength and avoid over-extracted, bitter-tasting coffee. Plus, it’ll help you prevent accidental spills or splashes if you serve the coffee from the percolator.
Step 6: Serve and enjoy!
After all the hard work of preparing a meal, it’s time to sit down and enjoy it! Make sure to present the coffee attractively and serve everyone enough of each ingredient.
Other Suggestions:
• For your coffee grounds, choose a coarse grind.
• Experiment with various coffee-to-water ratios to discover your ideal strength.
• Over-percolating coffee might result in bitterness.
• Clean your percolator regularly to avoid the accumulation of coffee oils and residue.
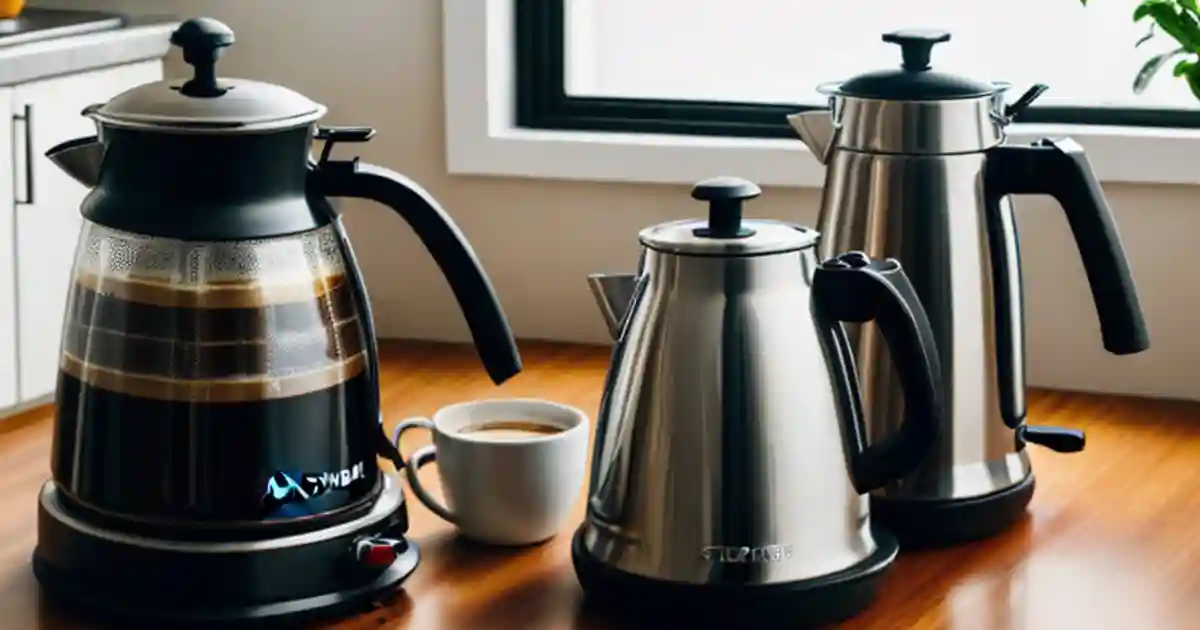
The Best Coffee Percolators
Choosing the appropriate percolator may make or break your coffee-making experience. Consider the following factors:
Material:
Stainless steel is long-lasting and straightforward to clean, while electric percolators are practical but may not provide the same degree of control.
Size:
Select a size that will meet your requirements.
Some percolators have features such as automated shut-off and warming plates.
With so many choices available, investigate and compare several models to get the best percolator.
How to Clean a Percolator
Proper cleaning is vital for keeping your percolator and producing a good cup of coffee. Here’s how to clean your percolator:
• Wash all detachable components in warm, soapy water.
• Remove any coffee grounds with a gentle brush from the spout and tube.
• Before reassembling, properly rinse and dry all parts.
• Describe your percolator using a vinegar solution regularly to eliminate mineral buildup.
• Following these easy procedures, you can keep your percolator shining clean and make coffee at its finest.
Percolator vs. Other Brewing Methods
In comparison to other brewing procedures,
• Make a more robust, bolder cup of coffee.
• They are often inexpensive and straightforward to operate.
• Provide a more hands-on brewing experience.
• If not closely controlled, the coffee may be over-extracted, resulting in bitterness.
• Finally, your unique tastes and priorities will determine your best brewing technique.
Percolator Tips
Here are some more hints to help you make the ideal cup of coffee in your percolator:
• To get the best flavor from your coffee, it’s important to grind your beans just before brewing.
• The more finely ground the grain, the more strong the flavour. You also need to use the right amount of beans.
• Too much will make the coffee bitter, and too little will give it a weak flavor.
• Make sure the water temperature is just right – too hot, and it will be bitter, too cold, and it won’t have much flavor.
• You can start brewing once you have the right amount of beans and the right temperature. Remember to stir your coffee regularly during brewing to ensure the grounds are evenly mixed and extracted.
Finally, let your coffee steep for the recommended time before drinking.
Yes, percolators can make great coffee. The key is to use the right grind of coffee, not too fine or too coarse.
To make coffee in an old-fashioned percolator, fill the bottom chamber with cold water, place the filter basket in the lower section, and add the correct coffee grounds. Then, place the upper room on the lower chamber and the percolator on the stove. Once the coffee starts to percolate, you can turn off the heat and enjoy your coffee.
To make coffee on the stove, fill the bottom chamber with cold water, place the filter basket in the lower section, and add the correct coffee grounds. Then, place the upper room on the lower chamber and the percolator on the stove. Once the coffee starts to boil, you can turn off the heat and enjoy your coffee.
In a percolator, you can use regular coffee. Just make sure to use a medium to coarse grind. If you use a finer grind, the coffee may need to be stronger.
Leave a Reply