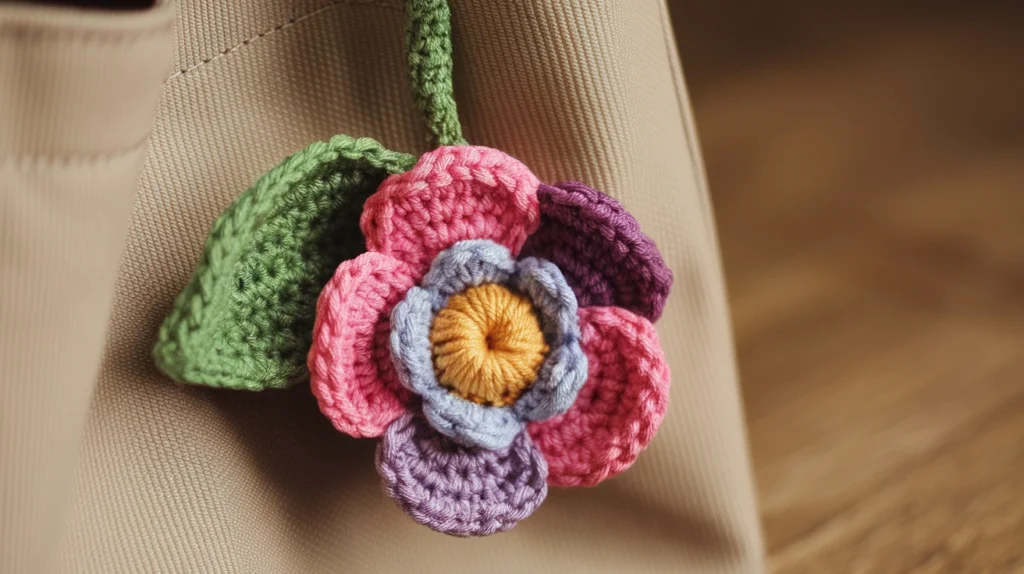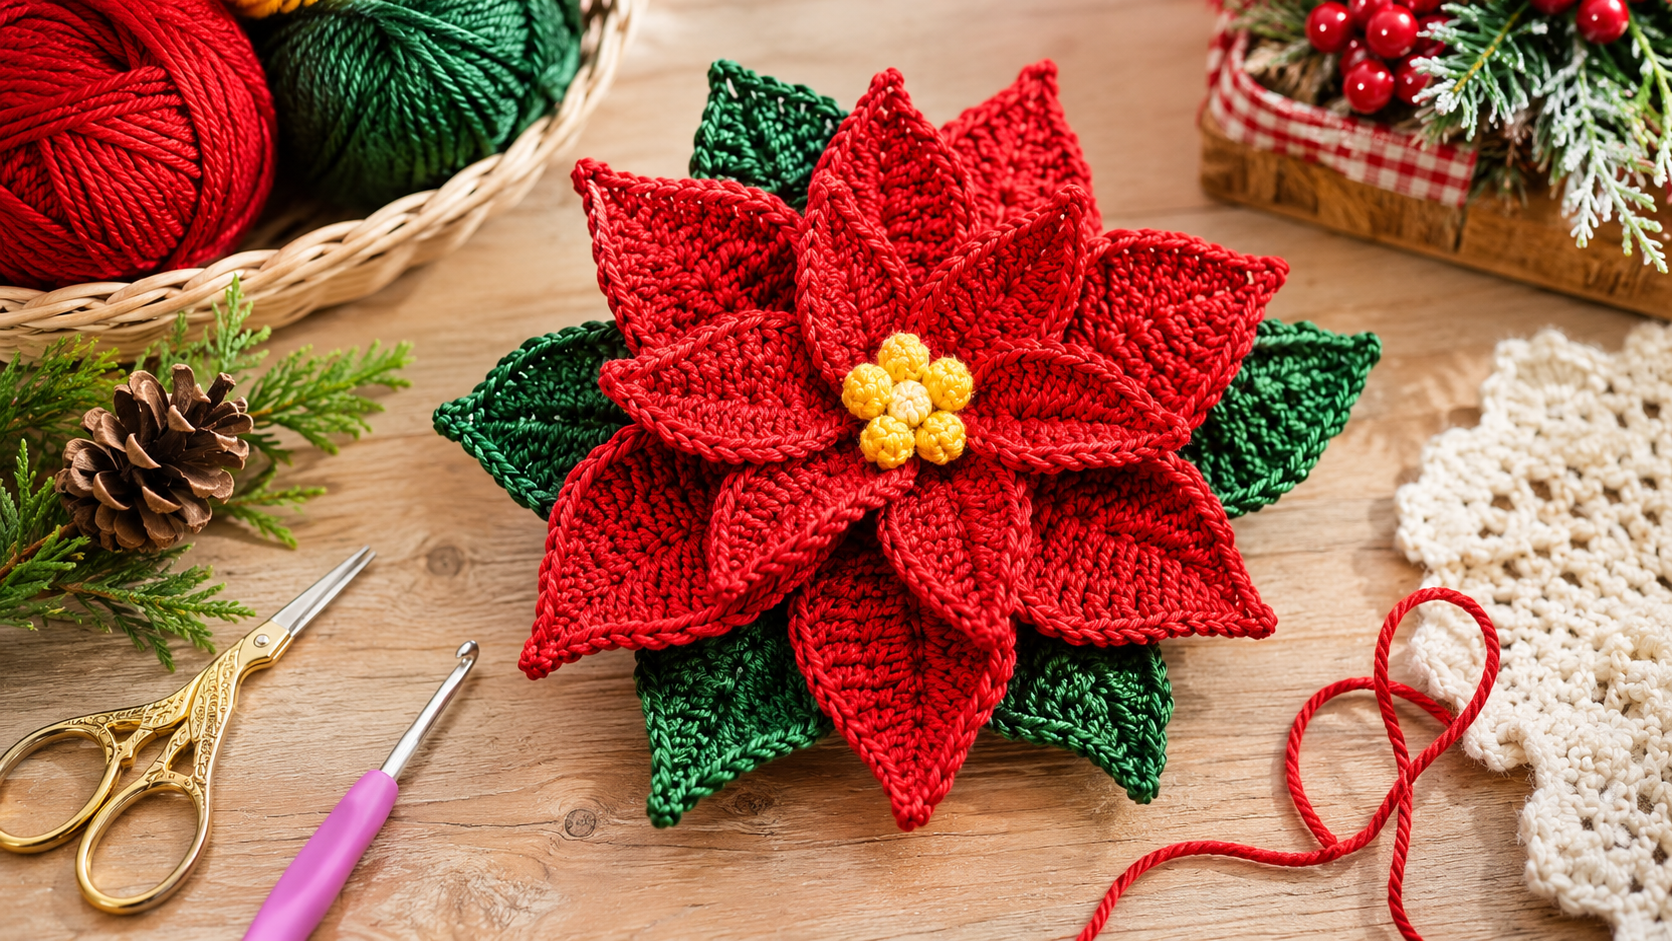
A handmade crochet poinsettia is a beautiful way to add a festive touch to your Christmas decorations and handmade gifts. With its layered red petals, deep green leaves, and little golden center, this classic Christmas flower makes a lovely crochet project that you can use year after year. If you enjoy making seasonal decorations, you might also love these crochet Christmas charm keychains for more handmade holiday inspiration.
In this step-by-step tutorial, you’ll learn how to crochet the individual petals and leaves, create the flower center, and assemble everything into a finished poinsettia. You can use your flower as a Christmas gift topper, tree ornament, brooch, wreath decoration, or handmade holiday accessory. For additional inspiration, check out Lion Brand’s crochet poinsettia flower instructions and the Craft Yarn Council’s yarn weight guide to help choose suitable yarn. You can also explore these Christmas crochet keyrings for another handmade gift idea.
How to Crochet a Christmas Poinsettia Flower
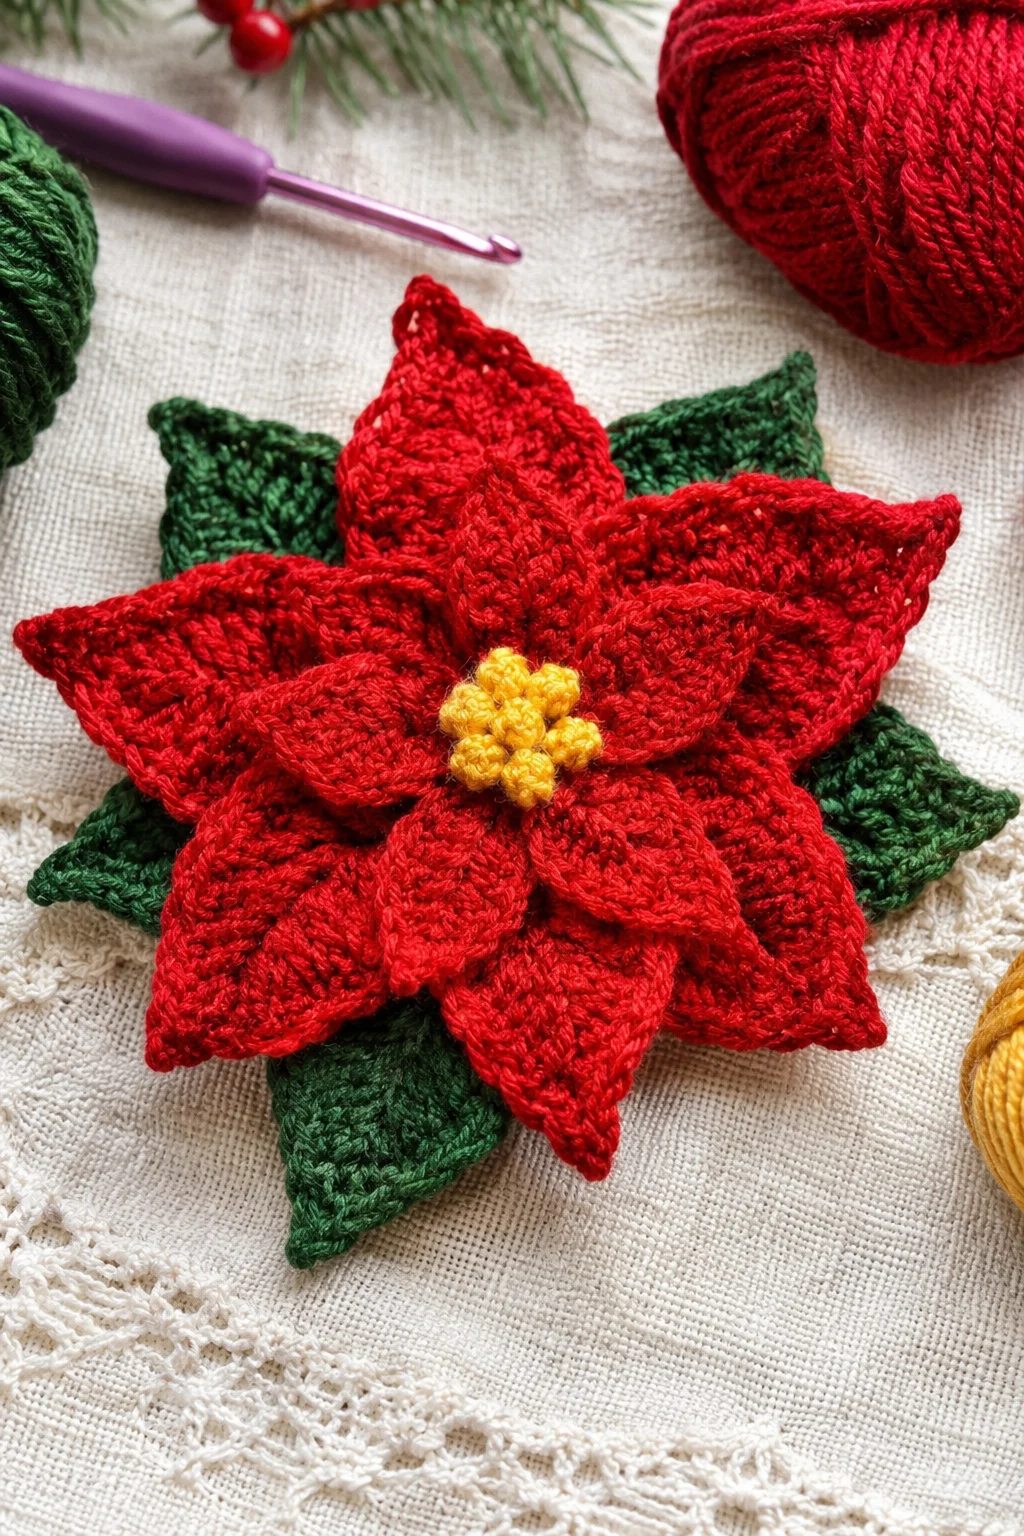
- Skill Level: Confident beginner
- Project Type: Crochet flower and Christmas decoration
- Crochet Terms: US terminology
- Yarn Weight: DK or light worsted weight
- Hook Size: 3.5–4 mm (E-4 to G-6)
- Colors: Red, green, and yellow or gold
- Construction: Separate crochet pieces joined by sewing
- Gauge: Not essential for this decorative project
- Finished Size: Depends on yarn, hook size, tension, and petal arrangement
Materials You Need to Crochet a Poinsettia
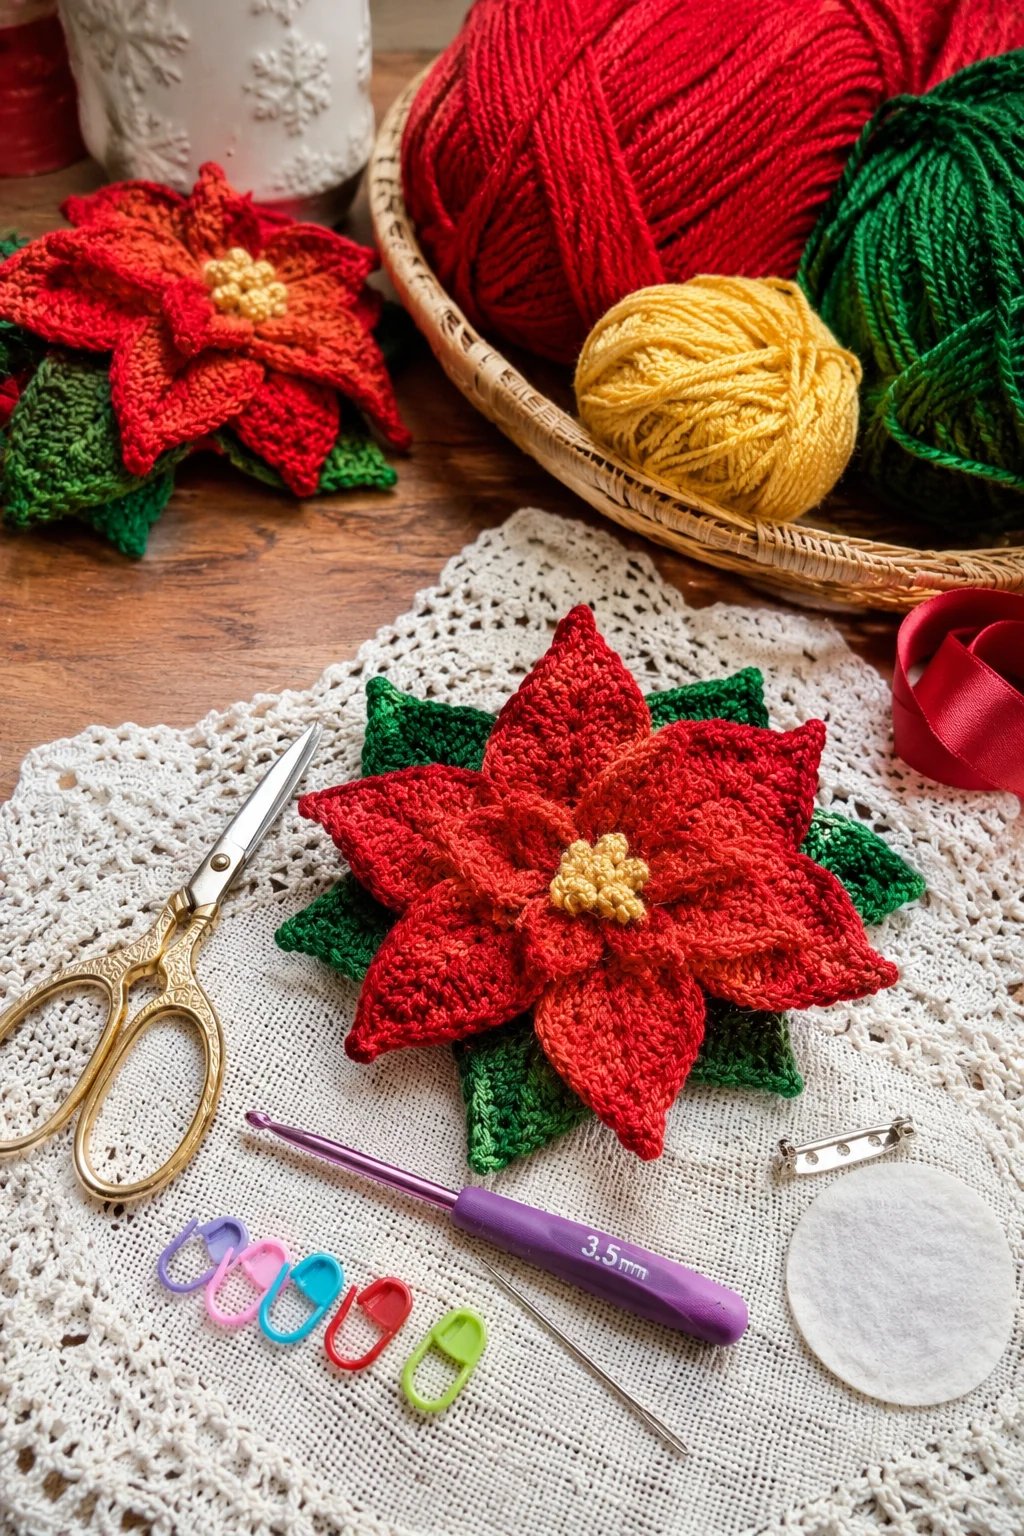
Gather your yarn and basic crochet supplies before starting. Smooth cotton or cotton-blend yarn is a good choice because it helps the pointed petals keep their shape and makes individual stitches easier to see.
- Red DK or light worsted-weight yarn for the flower petals.
- Forest green yarn for the leaves.
- A small amount of yellow or gold yarn for the center.
- 3.5–4 mm crochet hook.
- Yarn needle for sewing the pieces together.
- Sharp scissors.
- Stitch markers, if needed.
- Blocking mat and pins for shaping.
- Optional felt circle for reinforcing the back.
- Optional brooch pin, ribbon, or hanging loop for finishing.
Understanding the Crochet Stitches
This crochet poinsettia uses a combination of basic US crochet stitches. The different stitch heights help create narrow petals with pointed ends rather than ordinary rounded flower shapes.
- ch – Chain: Yarn over and pull through the loop on your hook.
- sc – Single Crochet: Insert the hook, yarn over and pull up a loop, yarn over again and pull through both loops.
- hdc – Half Double Crochet: Yarn over, insert the hook, pull up a loop, yarn over and pull through all three loops.
- dc – Double Crochet: Yarn over, insert the hook, pull up a loop, yarn over and pull through two loops twice.
- tr – Treble Crochet: Yarn over twice, insert the hook, pull up a loop, then yarn over and pull through two loops three times.
- sl st – Slip Stitch: Insert the hook, yarn over, and pull through the stitch and the loop on your hook.
- MR – Magic Ring: An adjustable loop used to start a small crochet circle.
For this project, you’ll work along both sides of a foundation chain to create individual pointed petals. If you are new to this technique, take your time with the first petal before making the remaining pieces.
Step-by-Step: How to Crochet Christmas Poinsettia Petals
Step 1: Make the Small Red Petals
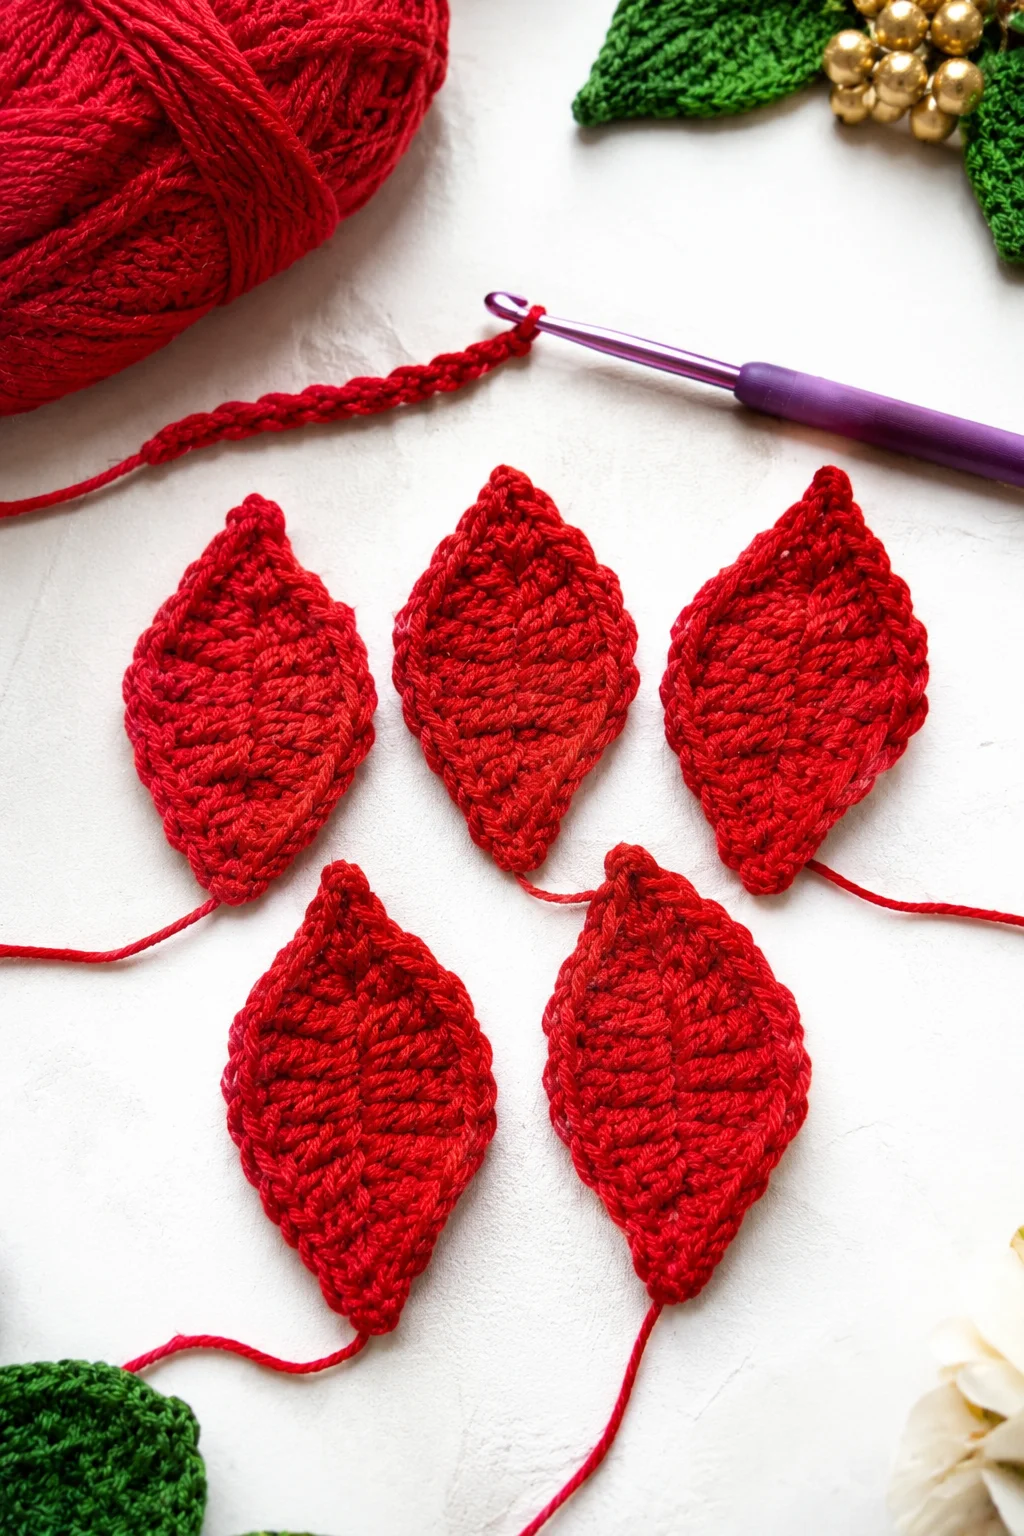
Start with your red yarn and crochet hook. The smallest petals will form the inner layer of the poinsettia, just around the yellow center.
- Make a foundation chain to establish the length of your small petal.
- Starting in the second chain from the hook, work a combination of single crochet, half double crochet, double crochet, and treble crochet.
- Gradually increase the stitch height toward the middle of the chain.
- Work several stitches into the final chain to turn around the tip and create a pointed end.
- Continue crocheting along the opposite side of the original chain, using the stitches in reverse order.
- Finish near the base with a slip stitch and fasten off, leaving a long yarn tail for sewing.
Make five small petals using the same general shaping technique. Keep the stitches even and avoid pulling the foundation chain too tightly, as this can cause the finished petals to curl.
Step 2: Crochet the Medium Petals
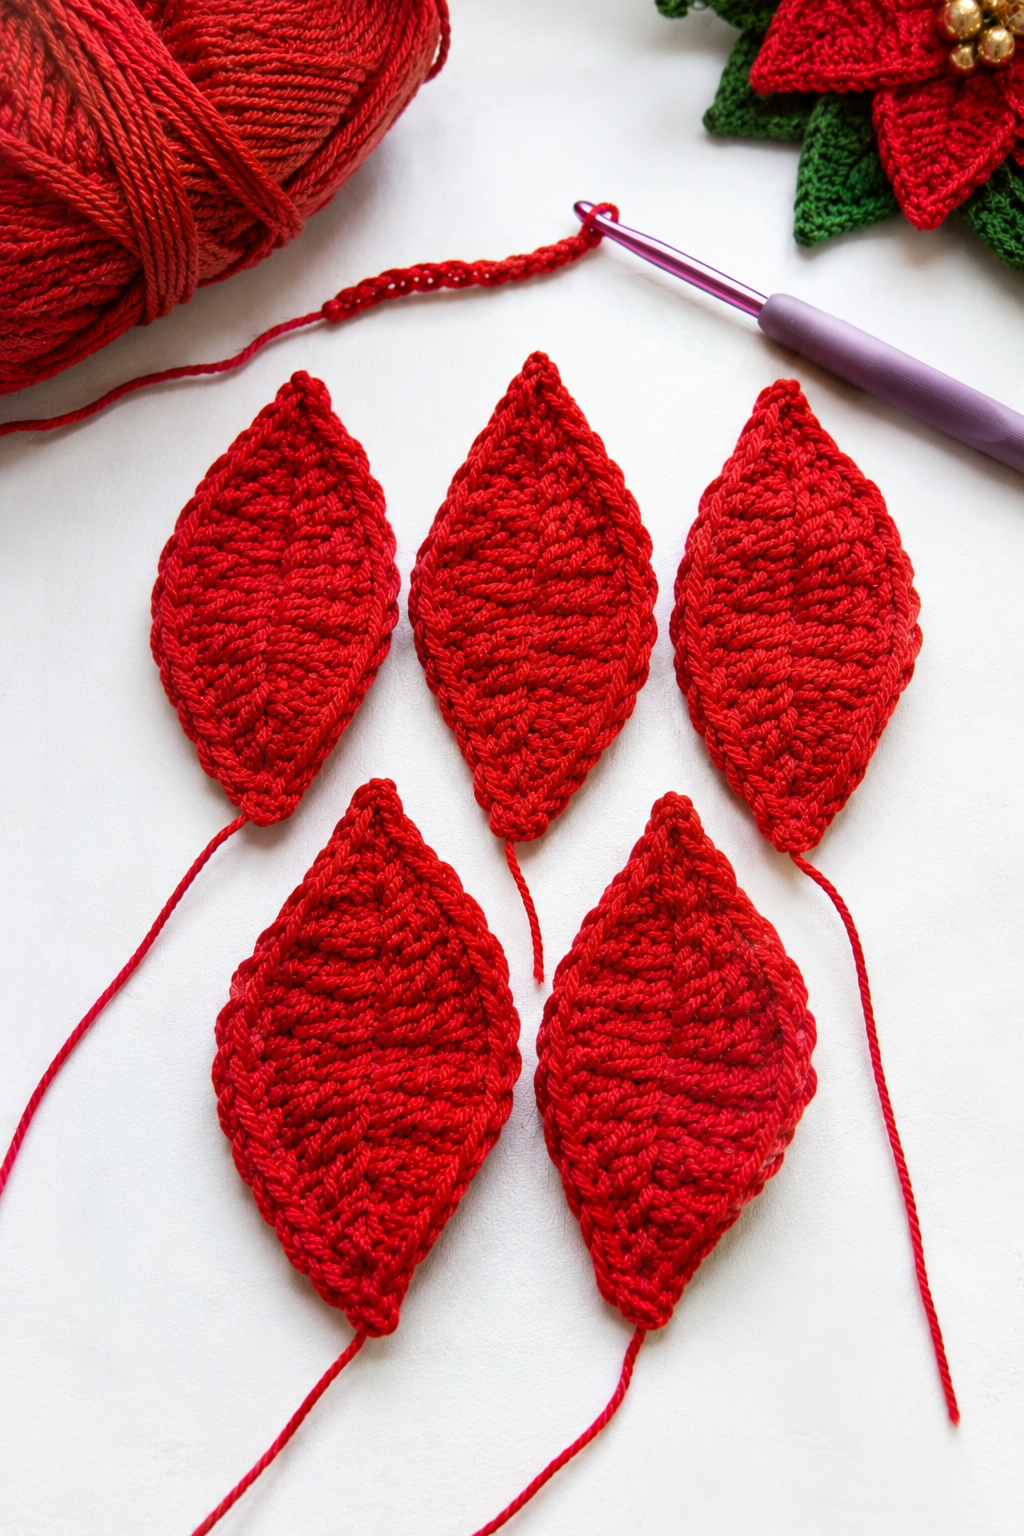
The medium petals create the second layer and help give your Christmas flower a fuller appearance. Use the same construction method as the small petals, but begin with a longer foundation chain.
- Make a foundation chain slightly longer than the one used for the small petals.
- Work single crochet and half double crochet near the base.
- Use double crochet and treble crochet toward the wider middle section.
- Shape the outer tip by working several stitches into the final chain.
- Continue along the opposite side of the foundation chain, gradually decreasing the stitch height.
- Finish with a slip stitch and leave a long tail for assembly.
Make five medium petals. They should be visibly longer than the small ones while keeping the same narrow, pointed shape.
Step 3: Make the Large Outer Petals
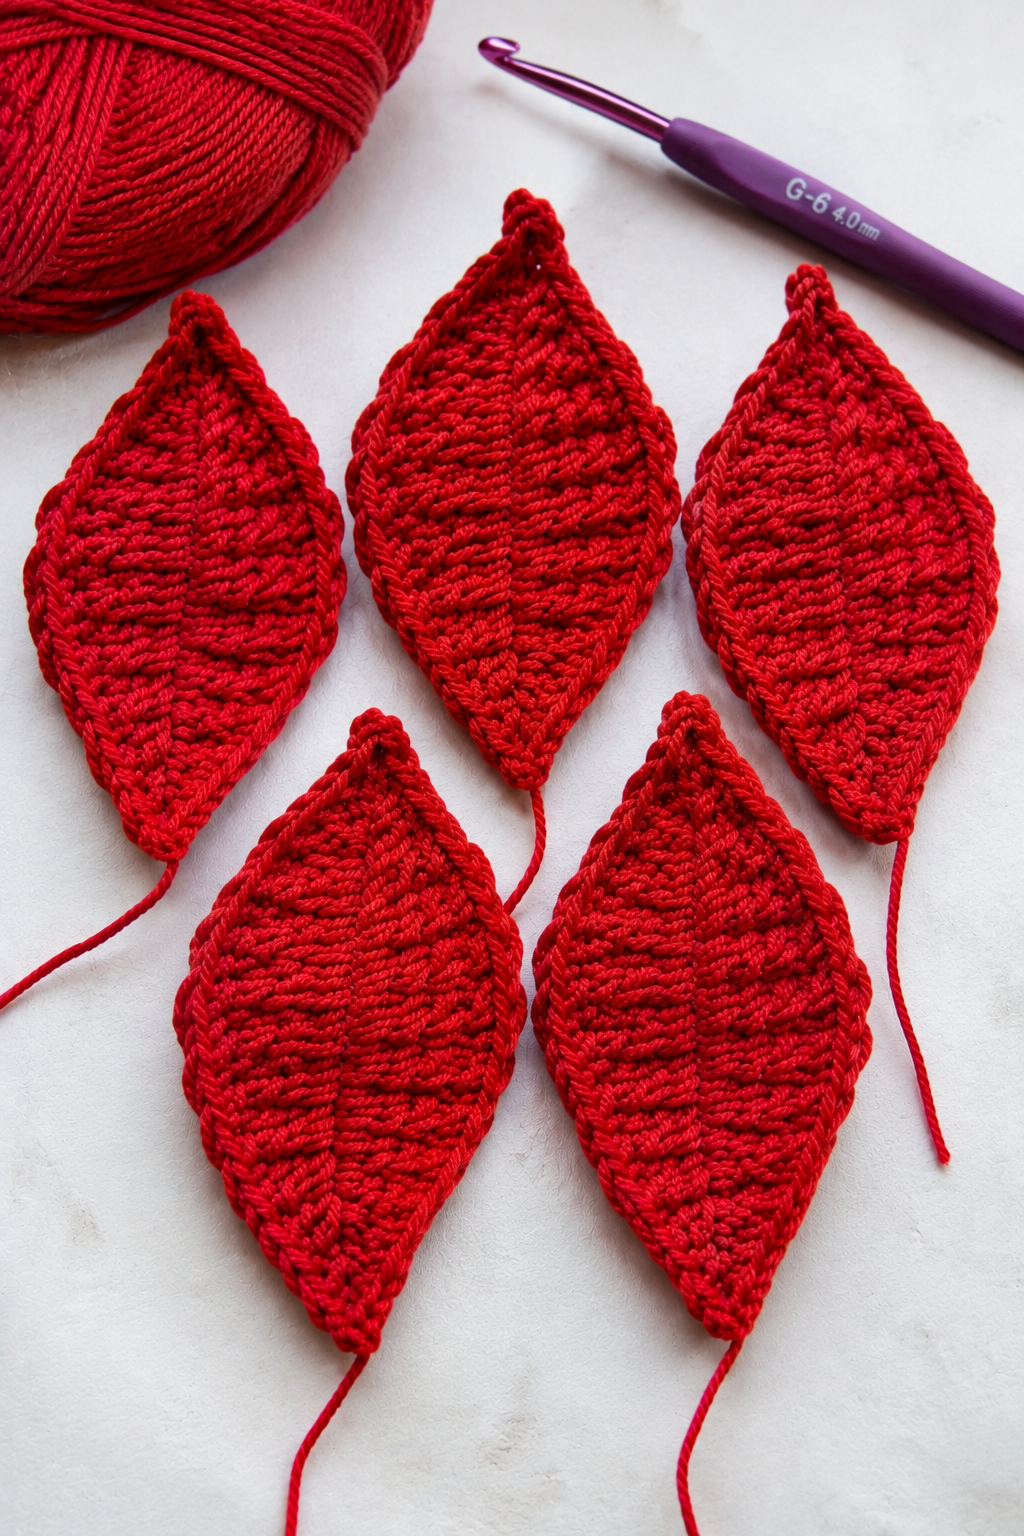
The largest petals form the outer layer of the poinsettia. They give the flower its recognizable star-like shape and make the finished decoration look fuller.
- Use the same red yarn and begin with a longer foundation chain than the medium petals.
- Work single crochet and half double crochet stitches near the base.
- Increase the stitch height toward the middle using double crochet and treble crochet.
- Create a pointed tip at the end of the chain.
- Continue working along the opposite side, following the same gradual stitch-height changes.
- Finish the petal with a slip stitch and leave a long sewing tail.
Make five large petals. Place them next to one another to check that their lengths are reasonably similar before moving on to the leaves.
Step 4: Crochet the Green Poinsettia Leaves
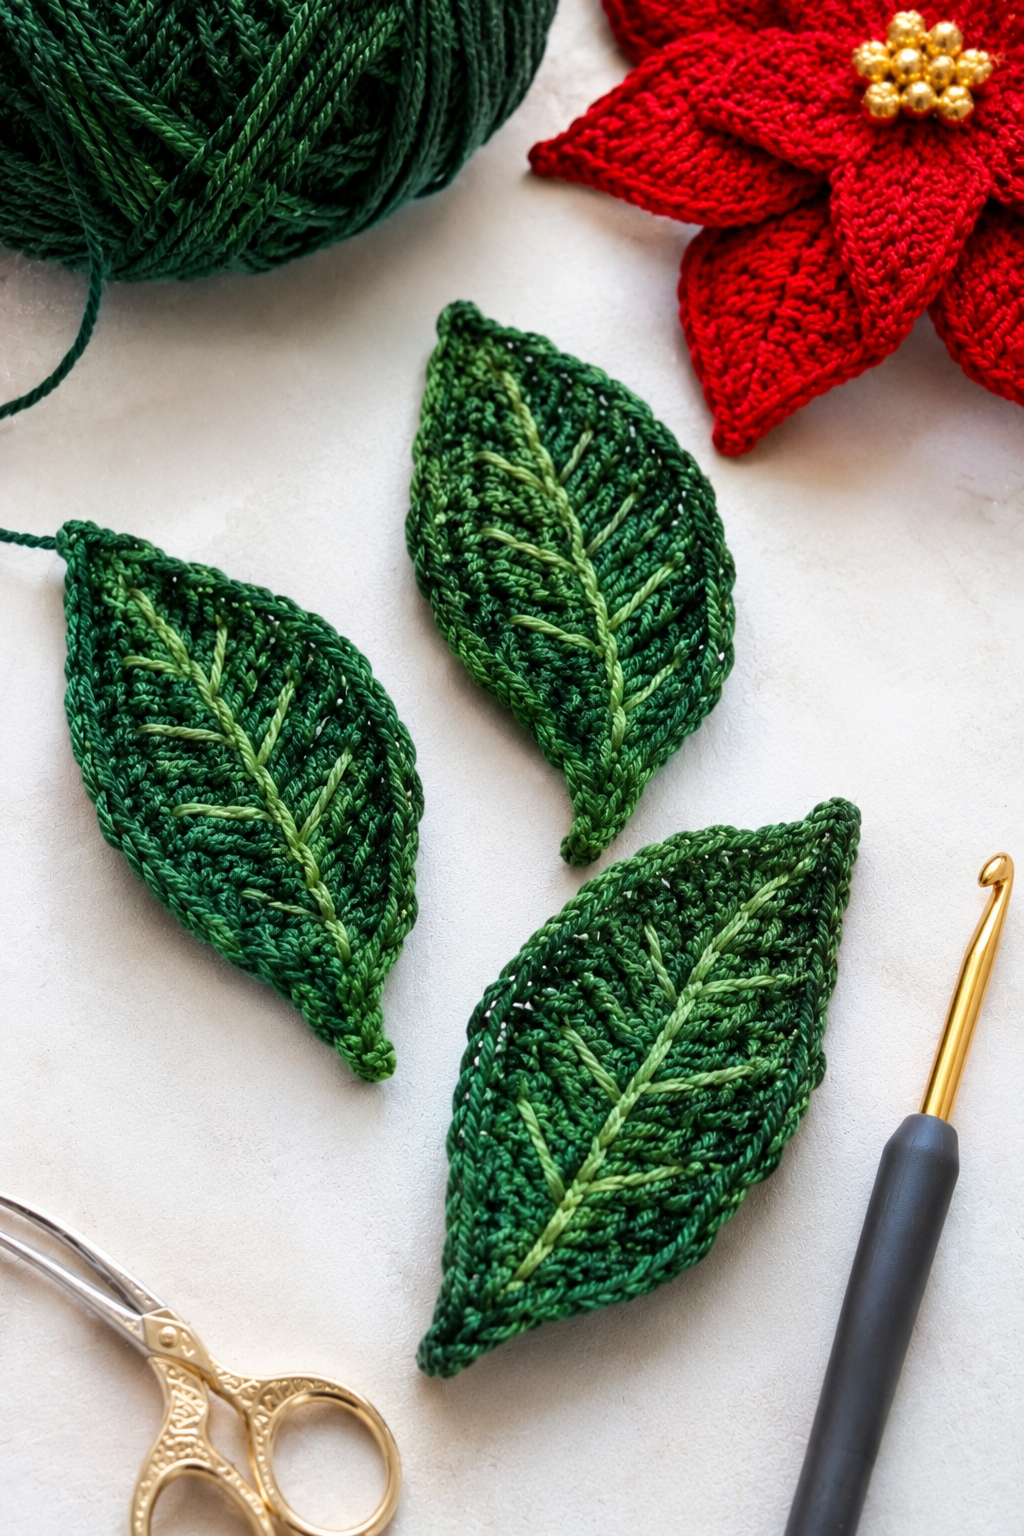
Green leaves add contrast behind the red flower and make the poinsettia look more complete. Use forest green or dark Christmas green yarn for a traditional appearance.
- Make a foundation chain for the first leaf.
- Starting near the hook, work single crochet, half double crochet, double crochet, and treble crochet stitches to create a gradually widening shape.
- Work several stitches into the final chain to form the pointed leaf tip.
- Continue along the opposite side of the foundation chain using the same stitch sequence in reverse.
- Finish at the base with a slip stitch.
- Fasten off and leave a long tail for attaching the leaf to the flower.
Make three green leaves. For extra detail, use a yarn needle and a lighter shade of green to embroider a central vein with a few short diagonal lines.
Step 5: Create the Yellow Flower Center
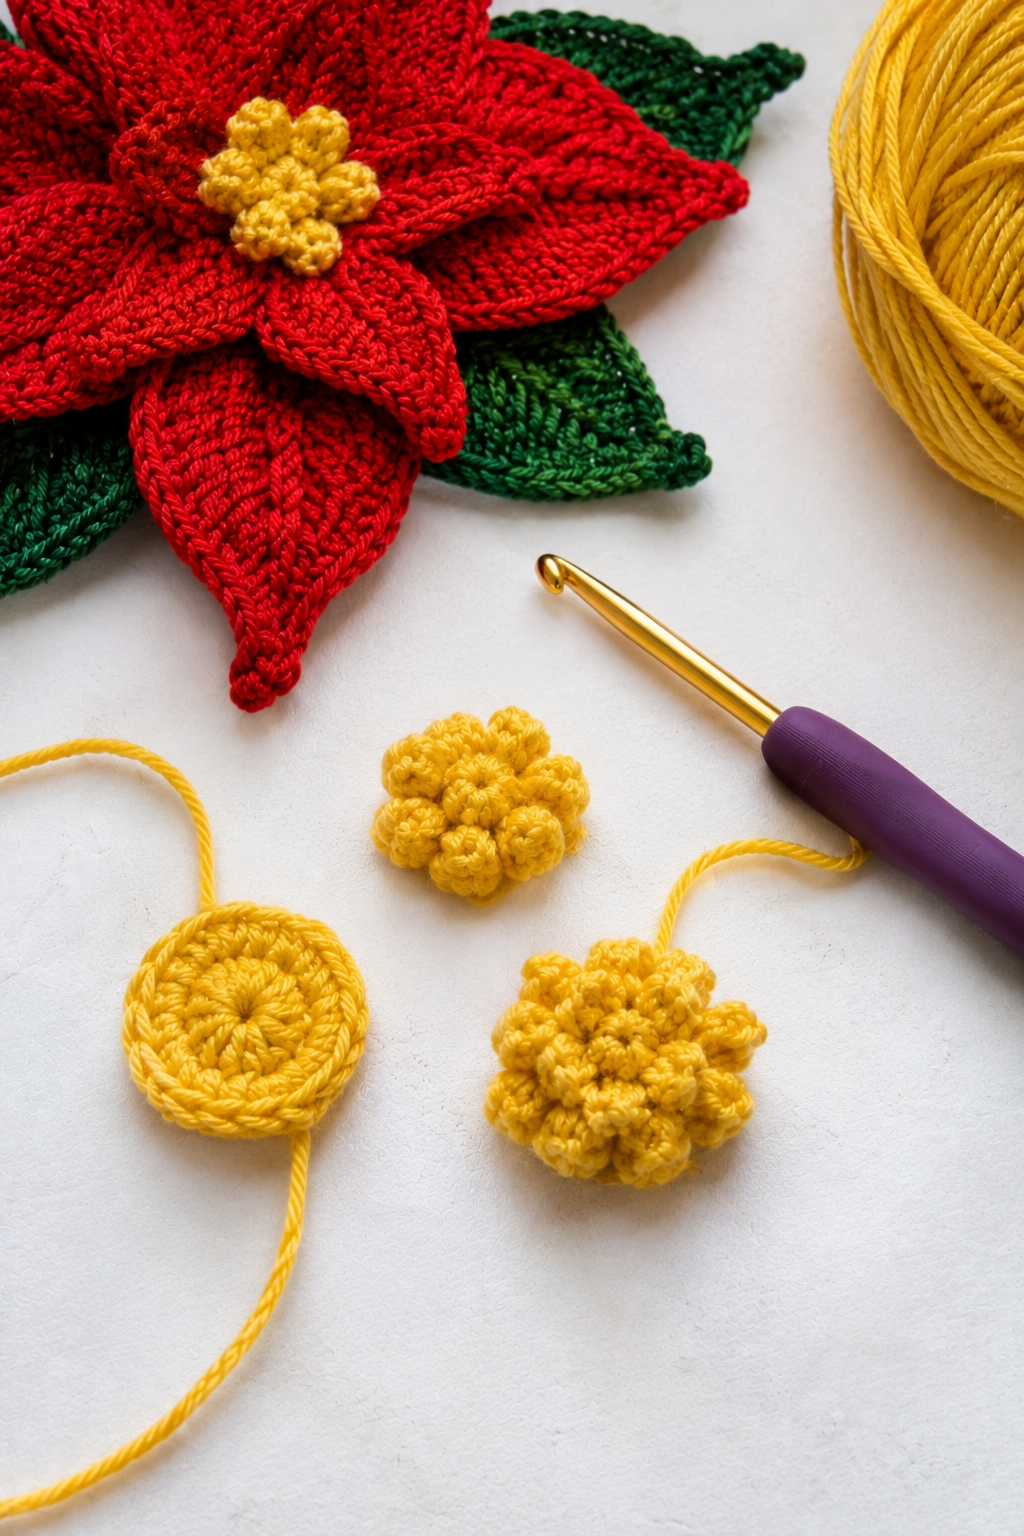
The yellow center provides the finishing detail that makes the poinsettia recognizable. You can create a small crochet circle using yellow yarn or add a textured center with embroidered knots.
- Start with a magic ring using yellow or mustard-colored yarn.
- Work a small circle of single crochet stitches into the ring.
- Pull the adjustable ring closed and join with a slip stitch.
- For extra texture, add small raised crochet details or embroidered yellow knots around the center.
- Fasten off, leaving a long tail for attaching the center to the flower.
Gold or mustard yellow creates a warm contrast against the red petals. You can also combine yellow and gold embroidery thread for a slightly more decorative finish.
Step 6: Assemble Your Crochet Christmas Poinsettia
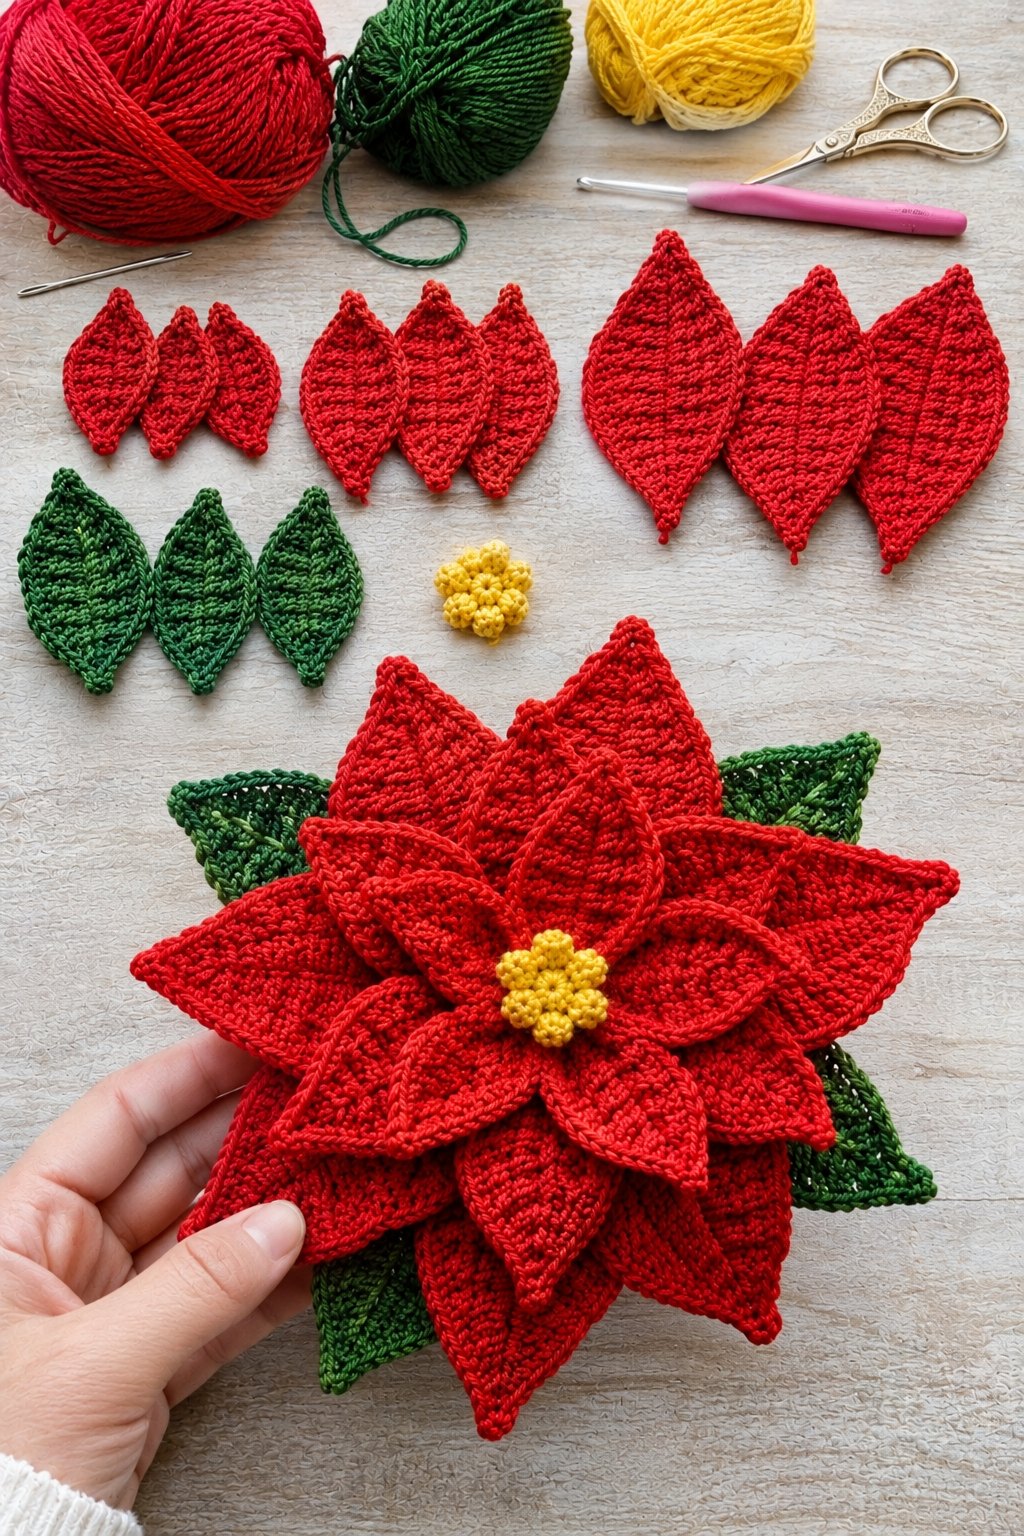
Once all the individual pieces are ready, arrange them into a layered flower. Sewing the pieces together gives you more control over their placement and helps keep the petals in position.
Arrange the Large Petals
Place the five large red petals in a circle on a flat surface. Position their bases close together in the center, with their pointed ends facing outward. Adjust the spacing until the flower looks balanced.
Use the long yarn tails and a yarn needle to sew the bases together. Secure the center without stitching through the entire length of the petals.
Add the Medium and Small Petals
Place the medium petals over the large ones, rotating the layer slightly so each petal sits between two outer petals.
Repeat the process with the small petals. Keep their pointed ends visible and avoid covering too much of the previous layer. Sew the bases securely through the center.
Attach the Yellow Center and Green Leaves
Sew the yellow center over the joined petal bases to hide most of the assembly stitches.
Turn the flower over and position the three green leaves behind it. Arrange them around the back so their tips extend beyond the red petals. Sew each leaf securely in place.
Step 7: Shape and Finish Your Crochet Poinsettia
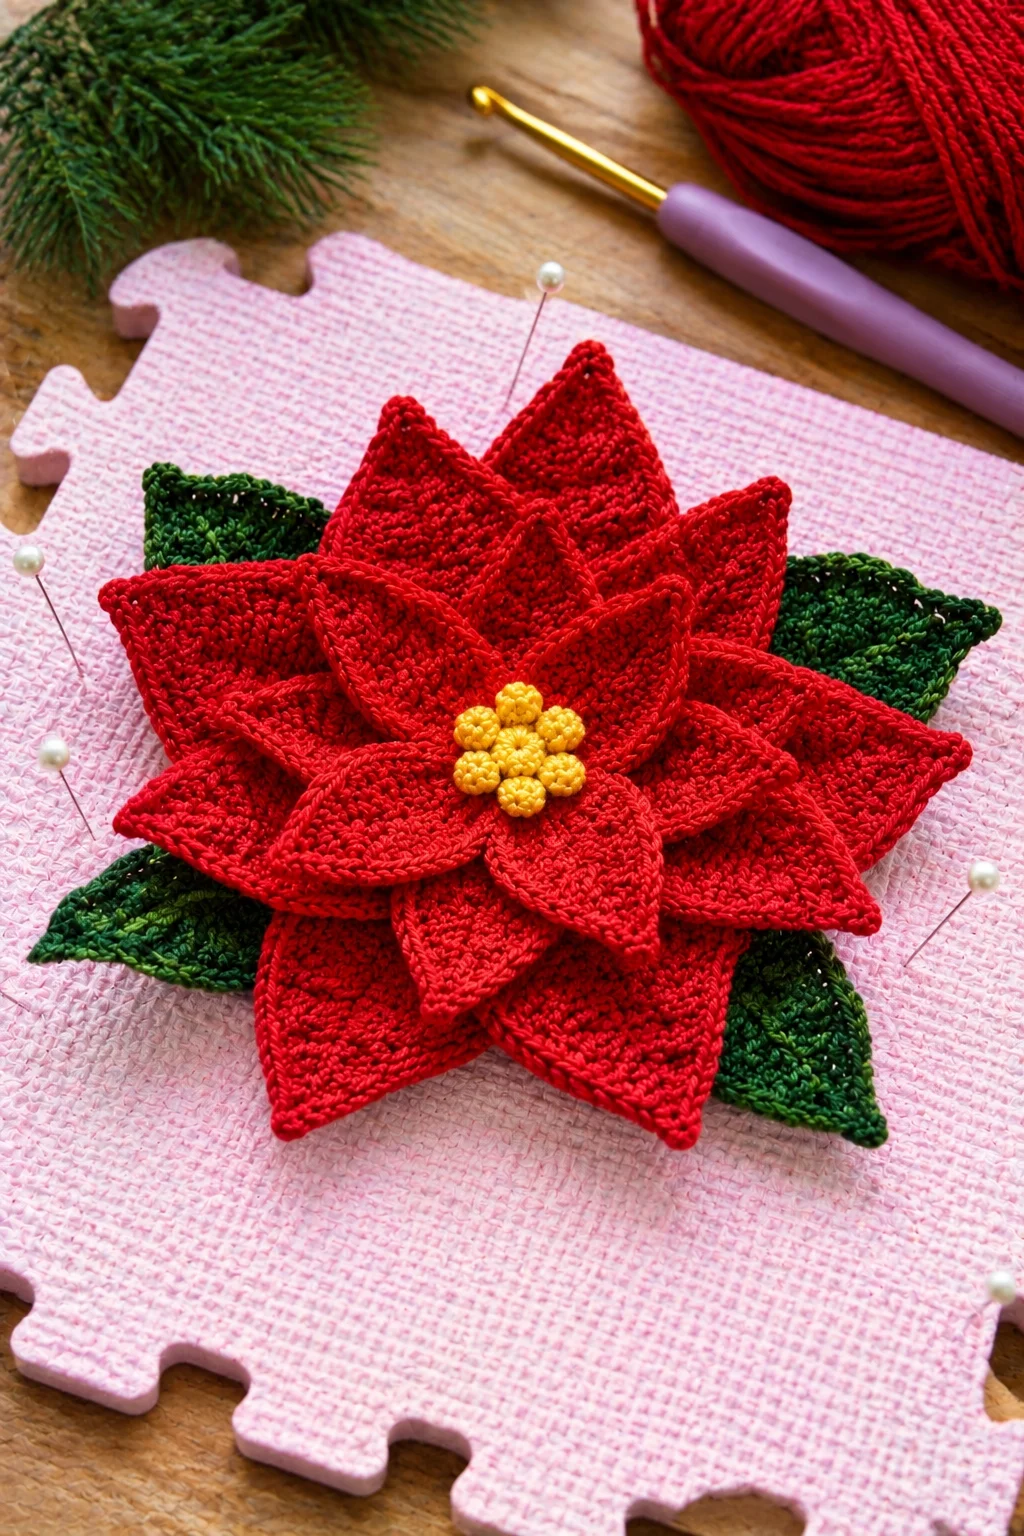
Before using your finished flower, take a few minutes to shape the petals and tidy up the yarn ends.
- Weave in any loose yarn ends with a tapestry needle.
- Gently stretch the petals lengthwise to emphasize their pointed shapes.
- Pin the petals into position on a blocking mat if they need extra shaping.
- If your yarn is suitable for wet blocking, lightly dampen the pieces and let them dry completely while pinned.
- Check that the center and leaves are firmly attached.
Follow the yarn manufacturer’s care instructions before applying steam or heat, especially when working with acrylic yarn. Avoid using high heat that could damage the fibers.
How to Use Your Crochet Poinsettia as a Christmas Gift
One of the nicest things about a handmade poinsettia is that you can use it in several different ways. Once the flower is finished, choose a simple backing or attachment that suits the gift you have in mind.
1. Christmas Gift Topper
Attach the poinsettia to a wrapped present or fabric gift bag using a few removable stitches or a ribbon loop. It makes a lovely alternative to a disposable gift bow, and the recipient can reuse the flower as a decoration.
2. Crochet Christmas Tree Ornament
Sew a small hanging loop onto the back of the flower. Hang it on your Christmas tree or combine several flowers with other handmade ornaments for a coordinated look.
3. Handmade Christmas Brooch
Attach a brooch pin to a small felt backing and sew the backing securely to the flower. This creates a festive accessory for coats, scarves, or holiday outfits.
4. Christmas Wreath Decoration
Make several poinsettias in different sizes and attach them to a wreath. Combine traditional red flowers with dark green leaves, cream ribbon, and other seasonal decorations.
5. Crochet Hair Clip
Attach the flower to a felt backing and secure it to a plain hair clip. A smaller poinsettia in red, cream, or dusty pink makes a pretty seasonal accessory.
Common Crochet Poinsettia Problems and How to Fix Them
Why Are My Crochet Petals Curling?
A foundation chain that is too tight can make the petals curl. Try making the starting chain more loosely and keep your stitches even. Gentle blocking can also help the petals lie flatter.
Why Do My Petals Look Round Instead of Pointed?
The stitch heights may not be changing enough toward the middle and outer tip. Use shorter stitches near the base, taller stitches toward the middle, and shorter stitches again along the opposite side. Gently shape the tip before assembling the flower.
Why Does My Poinsettia Look Too Flat?
Check how tightly the petal bases are sewn together. If the center is pulled too tightly, the layers may become compressed. Loosen the center slightly and lift a few inner petals to create more dimension.
Why Do My Petals Look Uneven?
Check that you are using the same foundation-chain length and stitch sequence for petals belonging to the same layer. Small variations are normal, but large differences can make the flower look unbalanced.
Frequently Asked Questions
Is a Crochet Poinsettia Suitable for Beginners?
Yes. A confident beginner who knows how to make chain, single crochet, half double crochet, double crochet, and treble crochet stitches can work on this project. The most challenging part is crocheting along both sides of the foundation chain and keeping the pointed petal shapes even.
What Yarn Is Best for a Crochet Christmas Poinsettia?
DK or light worsted-weight cotton and cotton-blend yarn are good choices. Smooth yarn makes it easier to see the stitches and gives the petals a more defined appearance. Traditional red, forest green, and mustard yellow create a classic Christmas color combination.
Can I Make a Crochet Poinsettia in Different Colors?
Absolutely. Try burgundy petals with dark green leaves for a rich holiday look, or use cream and gold for a softer winter decoration. Dusty pink with sage green is another lovely option for pastel Christmas gifts.
How Can I Make My Crochet Poinsettia Smaller?
Use thinner yarn with a smaller suitable hook, or leave out the large outer petal layer. A smaller flower works especially well as a gift topper, Christmas tree ornament, or hair accessory.
How Do I Attach a Crochet Poinsettia to a Gift?
You can sew a small ribbon loop or removable yarn loop to the back of the flower. Attach it to a gift bag handle or tie it around a wrapped present. This allows the recipient to remove and reuse the flower after Christmas.
Make a Handmade Christmas Poinsettia to Gift or Decorate
A crochet Christmas poinsettia is a lovely way to turn a few yarn scraps into a reusable holiday decoration. Once you understand how to shape the petals and arrange the layers, you can experiment with different colors and sizes to create flowers for gifts, wreaths, ornaments, and accessories.
Make one for someone special, or create a matching set of handmade Christmas decorations. You can also explore these crochet Christmas charm keychains and Christmas crochet keyrings for more small handmade gift ideas.