
Join the fastest-growing Food community on Pinterest
Canning Salsa Recipes for Homemade Flavor

Canning salsa recipes are a great way to preserve a tomato harvest and keep bold, homemade flavor ready for chips, tacos, grilled chicken, sandwiches, and easy dinners. This collection includes research-tested tomato, chile, tomatillo, mango, peach, and apple salsas, with options ranging from classic and savory to sweet and spicy.
There is one important difference between making salsa for dinner tonight and making salsa for the pantry: canning safety depends on tested ingredient proportions, acidity, jar size, and processing time. For that reason, the formulas below are based on research-tested canning recipes rather than improvised combinations. The National Center for Home Food Preservation’s salsa guidance specifically recommends following tested proportions and using the specified bottled acid. Penn State Extension’s current canning guidance likewise recommends scientifically tested salsa recipes for home canning.
If you are planning a summer preserving day, I would start by choosing the texture you want. Roma or other paste tomatoes generally make a thicker salsa, while slicing tomatoes can produce a more watery result. And if you are putting together a dinner around one of these jars, the easy side dishes collection has plenty of simple ideas for rounding out the meal.
8. Choice Salsa

When you want flexibility without guessing at the acid balance, this is the jar to reach for. Choice Salsa uses a fixed amount of tomatoes and bottled lemon or lime juice while allowing the onion and pepper combination to vary within the tested formula. That makes it especially useful when the garden gives you a mixed harvest. Use bell peppers for a gentler salsa, hot peppers for more heat, or a combination of both. The finished salsa is chunky, bright, and straightforward, making it a natural everyday option for tortilla chips, tacos, eggs, or grilled meats.
Ingredients
- 6 cups peeled, cored, seeded, chopped ripe tomatoes
- 9 cups diced onions and/or peppers
- 1 1/2 cups commercially bottled lemon or lime juice
- 3 teaspoons canning or pickling salt
Directions
- Prepare the tomatoes, onions, and peppers as specified, keeping the pieces fairly small and even.
- Combine the vegetables with the bottled lemon or lime juice and salt in a large pot.
- Bring the mixture to a boil, then reduce the heat and simmer for about 3 minutes, stirring as needed.
- Ladle the hot salsa into prepared hot pint or half-pint jars, leaving 1/2 inch headspace.
- Remove air bubbles, wipe the rims, and apply the lids and bands according to the manufacturer’s directions.
- Process in a boiling-water canner using the tested processing time for your elevation and jar size.
7. Tomato Salsa with Paste Tomatoes

For a classic red salsa with a thicker, more substantial texture, paste tomatoes are a smart choice. Roma-style tomatoes have firmer flesh and naturally produce less watery salsa than large slicing tomatoes. This version combines them with green chiles, jalapeños, onion, garlic, and a bright bottled citrus acid. The optional cumin, oregano, and cilantro let you steer the flavor toward a more herbaceous or warmly spiced profile without changing the tested vegetable-to-acid balance. It is a particularly useful recipe when you have a large tomato harvest to preserve.
Ingredients
- 7 quarts peeled, cored, chopped paste tomatoes
- 4 cups seeded, chopped long green chiles
- 5 cups chopped onion
- 1/2 cup seeded, finely chopped jalapeño peppers
- 6 cloves garlic, finely chopped
- 2 cups bottled lemon or lime juice
- 2 tablespoons salt
- 1 tablespoon black pepper
- 2 tablespoons ground cumin, optional
- 3 tablespoons oregano leaves, optional
- 2 tablespoons fresh cilantro, optional
Directions
- Prepare the tomatoes, chiles, jalapeños, onion, and garlic according to the tested preparation instructions.
- Combine the vegetables with the bottled lemon or lime juice and seasonings in a large pot.
- Bring the mixture to a boil, then simmer until the salsa reaches a thick, spoonable consistency.
- Ladle the hot salsa into prepared pint jars, leaving 1/2 inch headspace.
- Remove air bubbles, clean the rims, and apply the lids and bands.
- Process the jars in a boiling-water canner according to the tested time for your elevation.
6. Tomato and Green Chile Salsa
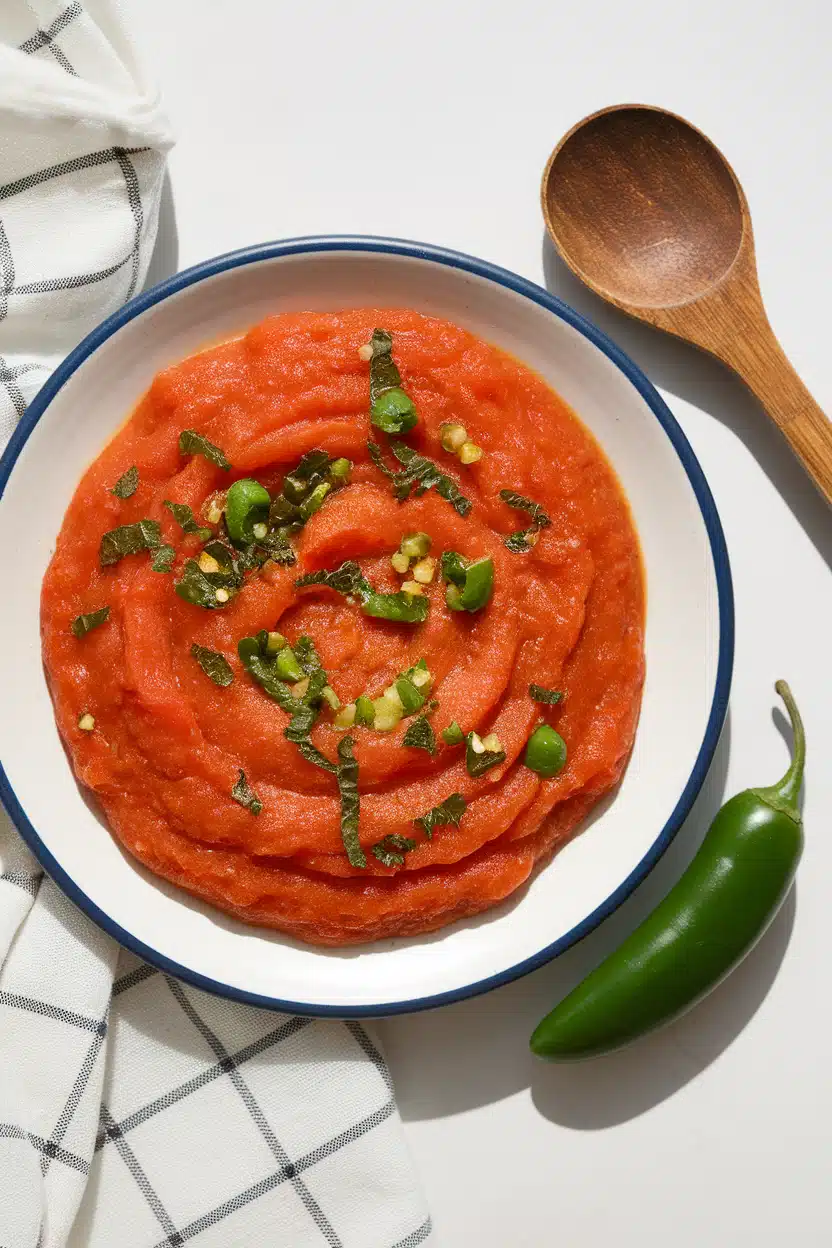
This one leans more heavily into green chile flavor, so it is a good pick when you want a salsa with a savory pepper presence rather than a tomato-dominant taste. Garlic, oregano, cumin, and jalapeño add depth without making the ingredient list unwieldy. The texture stays chunky enough for scooping but soft enough to spoon over tacos or grilled foods. If you enjoy building meals around bold sauces, keep a jar alongside the recipes in the dinner collection for an easy way to add another layer of flavor.
Ingredients
- 3 cups peeled, cored, chopped tomatoes
- 3 cups seeded, chopped long green chiles
- 3/4 cup chopped onions
- 1 jalapeño pepper, seeded and finely chopped
- 6 cloves garlic, finely chopped
- 1 1/2 cups 5% acidity vinegar
- 1/2 teaspoon ground cumin
- 2 teaspoons oregano leaves
- 1 1/2 teaspoons salt
Directions
- Prepare the tomatoes and chiles, removing skins from the chiles if desired according to the tested method.
- Combine all ingredients in a large saucepan.
- Heat until the mixture reaches a boil, then reduce the heat and simmer for about 20 minutes, stirring occasionally.
- Ladle the hot salsa into prepared pint jars, leaving 1/2 inch headspace.
- Remove air bubbles, wipe the jar rims, and secure the lids and bands.
- Process in a boiling-water canner using the tested processing time for your elevation.
5. Tomatillo Green Salsa

Bright, tangy tomatillos completely change the personality of a salsa. This green version has a sharper, fresher flavor than traditional red tomato salsa, with green chiles and jalapeño bringing adjustable heat and garlic, cumin, and oregano adding savory depth. Tomatillos are also convenient because the papery husks are removed before cooking, but the fruit itself does not need to be peeled or seeded. Spoon it over tacos, grilled chicken, rice bowls, or scrambled eggs when you want something lively rather than heavy.
Ingredients
- 5 cups chopped tomatillos
- 1 1/2 cups seeded, chopped long green chiles
- 1/2 cup seeded, finely chopped jalapeño peppers
- 4 cups chopped onions
- 1 cup bottled lemon or lime juice
- 6 cloves garlic, finely chopped
- 1 tablespoon ground cumin, optional
- 3 tablespoons dried oregano leaves, optional
- 1 tablespoon salt
- 1 teaspoon black pepper
Directions
- Remove the dry husks from the tomatillos and wash them thoroughly.
- Prepare the peppers, onions, and garlic as specified.
- Combine the vegetables, bottled lemon or lime juice, and seasonings in a large pot.
- Bring the mixture to a boil, then simmer until the vegetables are tender and the salsa has thickened slightly.
- Fill prepared pint jars with the hot salsa, leaving 1/2 inch headspace.
- Remove air bubbles, clean the rims, apply the lids and bands, and process according to the tested boiling-water canning instructions.
4. Chile Salsa II
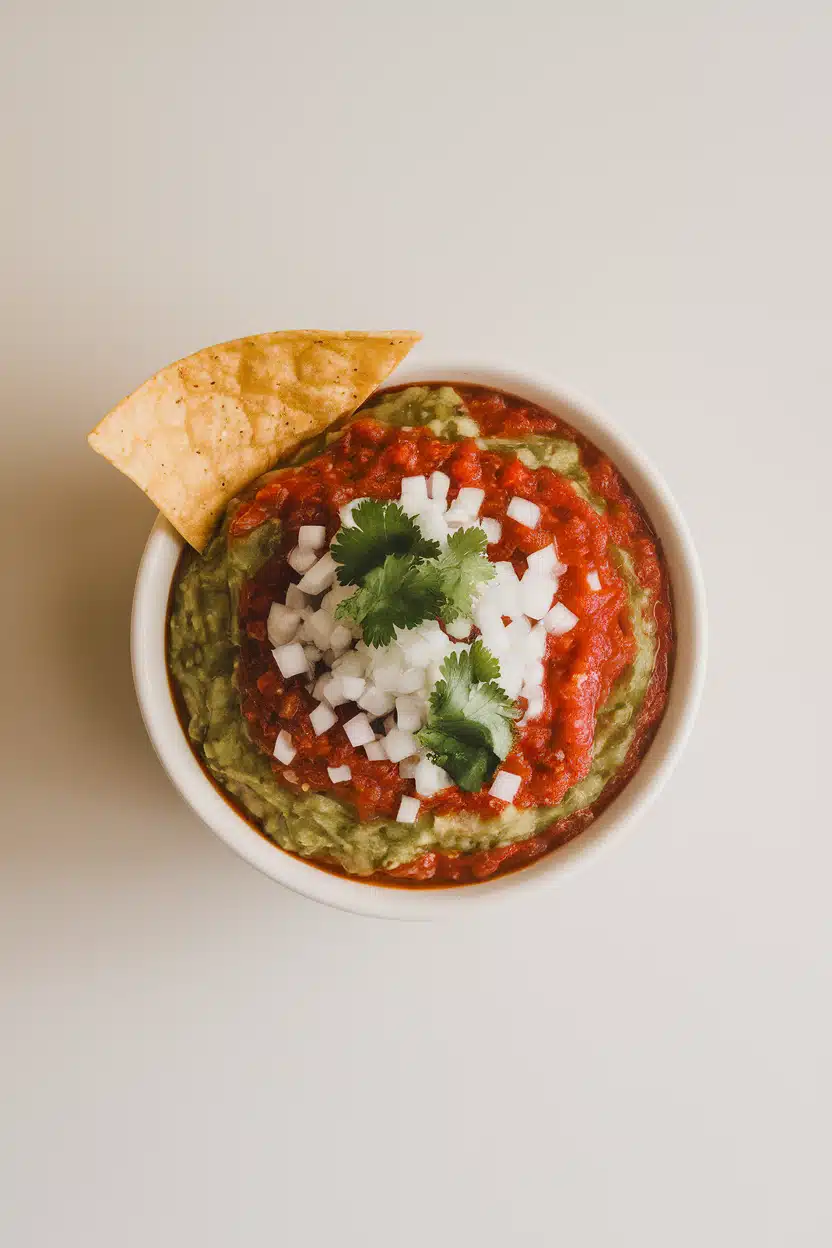
For a jar that puts peppers front and center, Chile Salsa II is the spicy choice. The tested formula uses a mixture of mild and hot chiles with tomatoes and onions, giving you a salsa that tastes more deeply peppery than a standard tomato-heavy version. It is especially useful for people who like to control heat through the type of chile they choose rather than by changing the tested quantity. Serve it with chips, tacos, grilled steak, or anything that needs a little extra punch.
Ingredients
- 10 cups peeled, cored, chopped tomatoes
- 6 cups seeded, chopped chili peppers
- 4 cups chopped onions
- 1 cup 5% acidity vinegar
- 3 teaspoons salt
- 1/2 teaspoon black pepper
Directions
- Prepare the tomatoes, peppers, and onions, taking appropriate care when handling hot chiles.
- Combine the vegetables, vinegar, salt, and pepper in a large saucepan.
- Bring the mixture to a boil, stirring regularly.
- Reduce the heat and continue cooking according to the tested recipe until the salsa reaches the desired consistency.
- Pack the hot salsa into prepared jars, leaving the required headspace.
- Process the jars in a boiling-water canner according to the tested time for your elevation.
3. Peach Apple Salsa

Not every canning salsa needs to be red and savory. Peach Apple Salsa brings ripe summer fruit into the mix while tomatoes, bell pepper, onion, vinegar, brown sugar, and pickling spices keep the finished condiment firmly in salsa territory. The fruit becomes tender but retains enough character to give each spoonful a little texture. It is a fun jar to open when you are serving a cheese board, roasted pork, or grilled foods and want something sweet-tart to balance savory flavors.
Ingredients
- 6 cups chopped Roma tomatoes
- 2 1/2 cups diced yellow onions
- 2 cups chopped green bell peppers
- 10 cups chopped hard, unripe peaches
- 2 cups chopped Granny Smith apples
- 4 tablespoons mixed pickling spice
- 1 tablespoon canning salt
- 2 teaspoons crushed red pepper flakes
- 3 3/4 cups packed light brown sugar
- 2 1/4 cups 5% acidity cider vinegar
Directions
- Prepare the tomatoes, onions, peppers, peaches, and apples according to the tested recipe.
- Place the pickling spice in cheesecloth or a spice bag and secure it closed.
- Combine the prepared produce with the vinegar, sugar, salt, pepper flakes, and spice bag in a large pot.
- Cook the mixture according to the tested procedure until the fruit and vegetables reach the specified texture.
- Remove the spice bag and ladle the hot salsa into prepared pint jars, leaving the required headspace.
- Process in a boiling-water canner using the tested time for your elevation.
2. Mango Salsa

Green mango gives this salsa a completely different character from the tomato-based jars. It is tangy, fruity, and gently sweet, with red bell pepper, onion, ginger, garlic, and crushed red pepper providing color and savory heat. The use of unripe mango is important because it holds its shape better during cooking than soft ripe fruit. This is the jar I would choose for a summer spread where you want something unexpected alongside grilled foods or a simple platter of snacks.
Ingredients
- 6 cups diced unripe mango
- 1 1/2 cups diced red bell pepper
- 1/2 cup finely chopped yellow onion
- 1/2 teaspoon crushed red pepper flakes
- 2 teaspoons finely chopped garlic
- 2 teaspoons finely chopped ginger
- 1 cup light brown sugar
- 1 1/4 cups 5% acidity cider vinegar
- 1/2 cup water
Directions
- Wear gloves if handling raw green mango causes skin irritation, and prepare the mango and vegetables as specified.
- Combine the vinegar, water, brown sugar, garlic, ginger, pepper flakes, bell pepper, and onion in a suitable cooking pot.
- Bring the mixture to a boil and cook according to the tested procedure.
- Add the prepared mango and continue cooking until the fruit reaches the tested texture without becoming overly soft.
- Ladle the hot salsa into prepared half-pint jars, leaving the required headspace.
- Apply the lids and bands and process using the tested boiling-water canning instructions.
1. Tomato/Tomato Paste Salsa
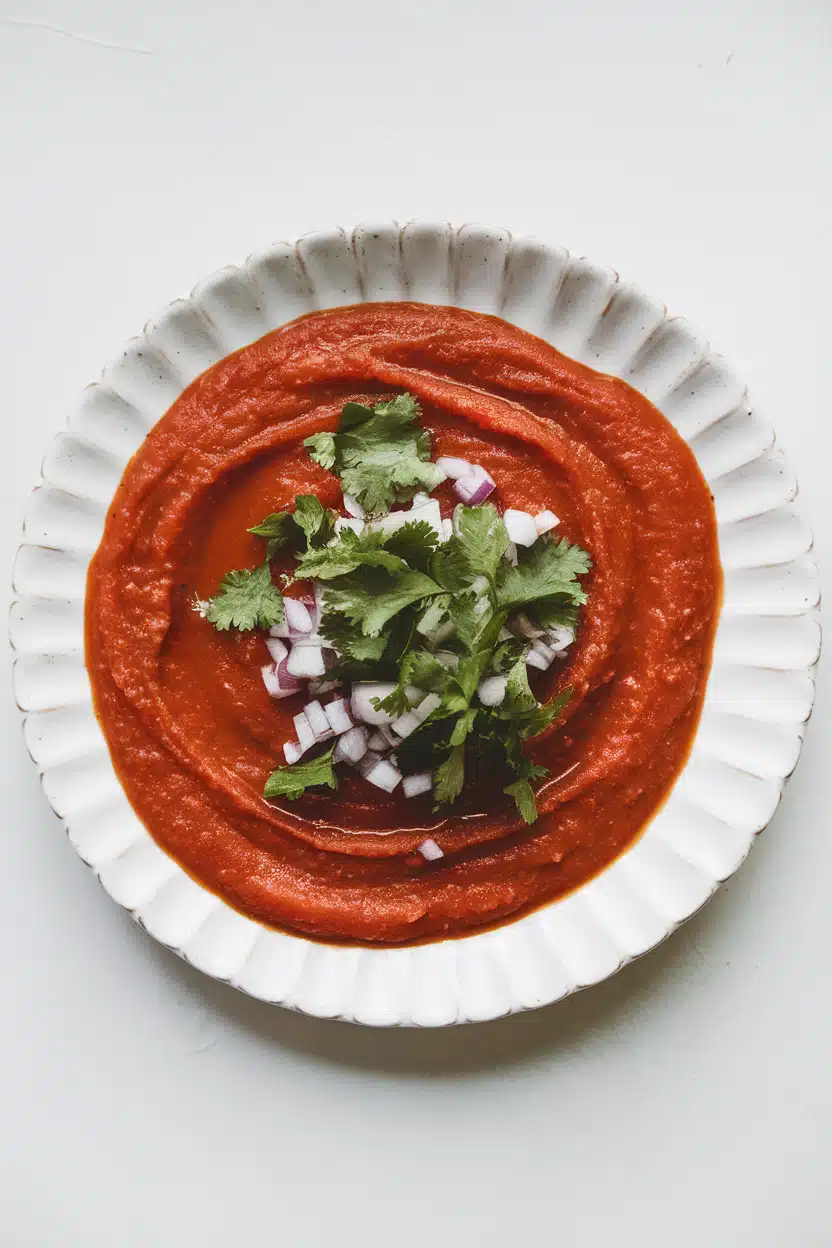
When you want a dependable, thicker salsa but do not have enough paste tomatoes on hand, this tomato-and-tomato-paste version is worth keeping in your preserving rotation. Tomato paste helps create a more concentrated texture while jalapeños, green chiles, onion, garlic, cumin, and oregano give it a familiar savory profile. It makes a generous batch, so this is a practical option for a serious tomato harvest or for anyone who likes having several jars ready for quick meals.
Ingredients
- 3 quarts peeled, cored, chopped slicing tomatoes
- 3 cups chopped onions
- 6 seeded, finely chopped jalapeño peppers
- 4 seeded, chopped long green chiles
- 4 cloves garlic, finely chopped
- 2 cans tomato paste, 12 ounces each
- 2 cups bottled lemon or lime juice
- 1 tablespoon salt
- 1 tablespoon sugar
- 1 tablespoon ground cumin, optional
- 2 tablespoons oregano leaves, optional
- 1 teaspoon black pepper
Directions
- Prepare the tomatoes, jalapeños, green chiles, onion, and garlic following the tested preparation instructions.
- Combine the vegetables, tomato paste, bottled lemon or lime juice, and seasonings in a large saucepan.
- Bring the mixture to a boil and simmer until the salsa reaches the tested consistency, stirring occasionally.
- Fill prepared pint jars with the hot salsa, leaving 1/2 inch headspace.
- Remove air bubbles, wipe the rims clean, and apply the lids and bands.
- Process in a boiling-water canner according to the tested processing time for your elevation.
How to Choose the Right Salsa for Canning
If you are standing in the kitchen with a basket of produce and cannot decide which jar to make first, start with what you have and the flavor you want. Paste tomatoes are particularly useful when you want a thicker tomato salsa, while the Choice Salsa formula gives you more flexibility with the onion-and-pepper combination. For a bright green option, tomatillos are the obvious choice. Fruit-based salsas such as peach apple and mango are better when you want a sweet-tart contrast for grilled or savory foods.
One detail is more important than any flavor preference: do not casually change the quantities of tomatoes, peppers, onions, or acid in a canning formula. The National Center for Home Food Preservation explains that salsa safety depends on the acidity and proportions of the particular recipe. Their guidance also notes that bottled lemon juice and vinegar have specific acidity requirements. For a deeper explanation, use the official salsa ingredient and acid guidance before adapting a recipe.
Practical Canning Tips for Better Salsa
- Choose good-quality produce. Canning is not a good way to rescue tomatoes or vegetables that are spoiled, badly damaged, or overripe.
- Expect texture differences. Paste tomatoes generally create thicker salsa, while slicing tomatoes can release more liquid.
- Measure vegetables carefully. For tested salsa recipes, the proportions are part of the safety formula, not just a suggestion for flavor.
- Use the specified bottled acid. Do not swap bottled lemon juice, lime juice, or vinegar casually. Different acids and concentrations can affect the finished acidity.
- Do not add low-acid extras. Ingredients such as corn or black beans should not be added to a salsa simply because they sound good in the jar. Add them after opening if desired.
- Adjust only what the tested recipe permits. The NCHFP notes that spices and herbs can often be adjusted, while changing the vegetable-to-acid proportions can make a salsa unsafe.
- Follow elevation instructions. Boiling-water processing times can change with altitude, so use the processing table supplied with the specific tested recipe.
- Refrigerate opened jars. Once a home-canned salsa jar has been opened, keep the remaining salsa refrigerated.
For an easy meal built around one of these jars, spoon tomato or green salsa over chicken, tacos, rice bowls, or roasted vegetables. You can also keep a jar ready for casual lunches alongside the lunch recipes or use a bright salsa as a finishing condiment for the lemon herb roasted chicken thighs. The idea is to let the preserved salsa do some of the flavor work for you.
Final Thoughts on Canning Salsa Recipes
A good batch of canned salsa gives you more than a pantry staple: it is a simple way to hold onto the flavors of a tomato and pepper harvest for later meals. From thick tomato salsa and bright tomatillo salsa to fruit-forward peach apple and mango versions, these canning salsa recipes give you several distinct directions to choose from. Most importantly, stick with research-tested formulas and their specified acid and processing instructions so the jars you save are both useful and safely preserved. Subscribe to Lemons Life Love for more practical recipes and seasonal ideas to make everyday cooking a little easier.