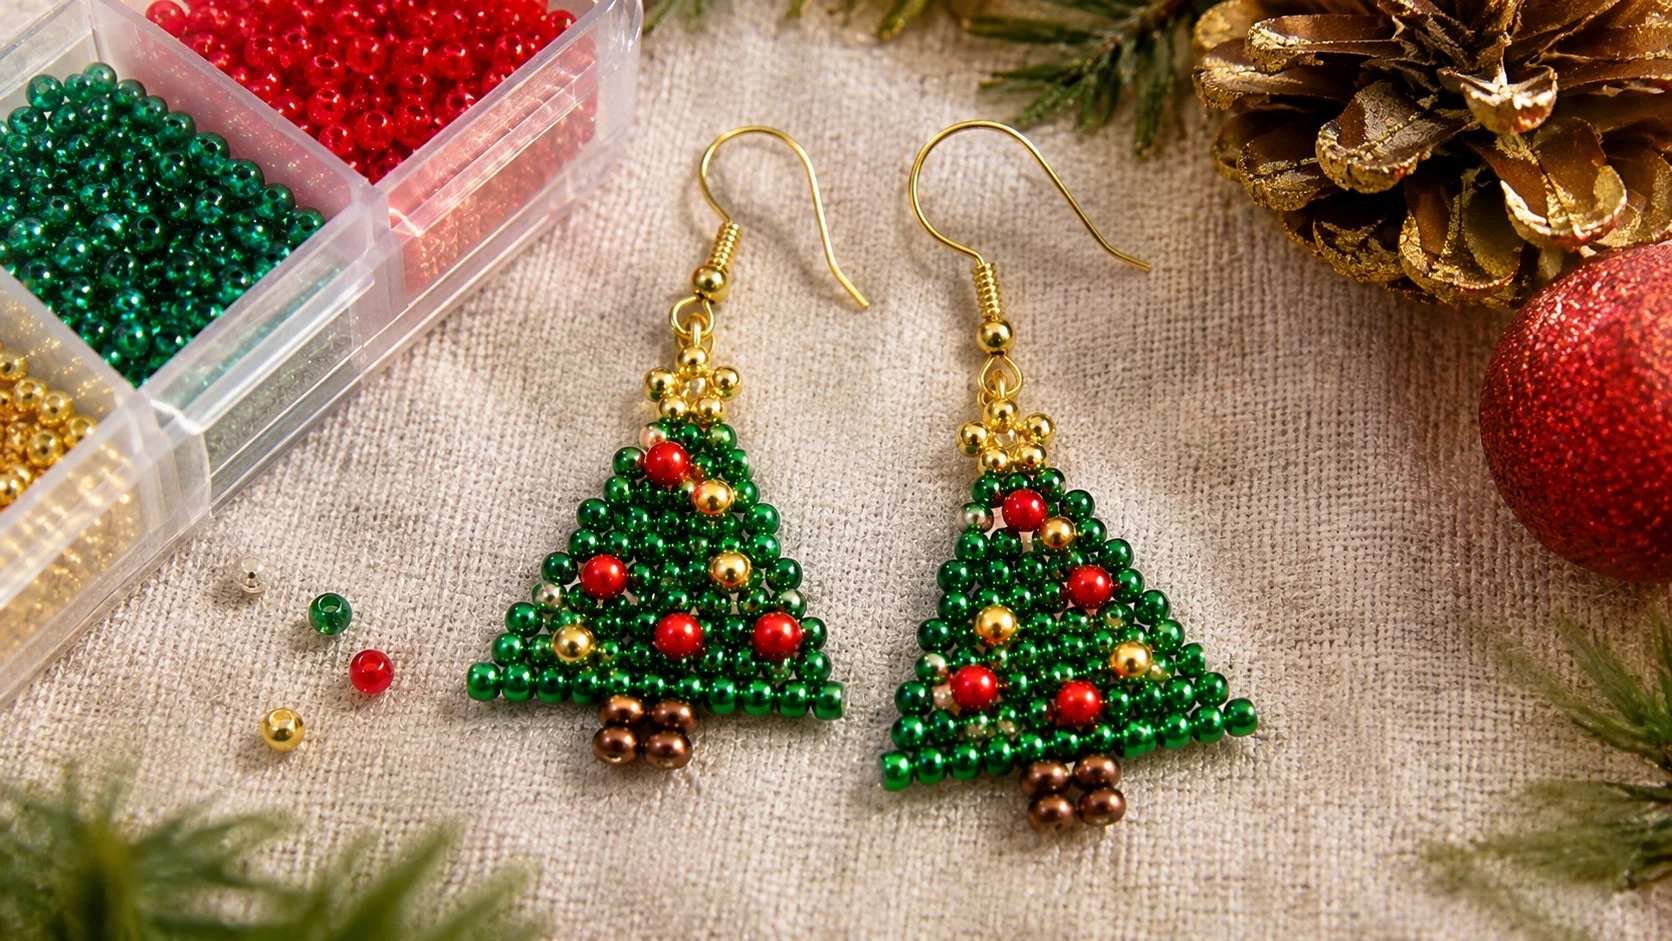
Christmas jewelry doesn’t have to be complicated to make a statement. A pair of tiny beaded Christmas tree earrings can add just the right amount of sparkle to a holiday outfit, and they’re small enough to make with a modest collection of seed beads and basic jewelry-making supplies. With their triangular shape, colorful decorations, and little golden details, these earrings capture the look of a miniature Christmas tree.
This DIY beaded Christmas tree earrings project uses seed beads and the brick stitch technique to create two matching tree-shaped designs. You can keep the colors traditional with green, red, and gold, or experiment with silver, white, and icy blue for a more winter-inspired look.
Beaded Christmas tree earrings are also a lovely handmade gift idea. They work well as stocking stuffers, small presents for friends, or festive accessories to wear throughout December.
Materials Needed to Make Beaded Christmas Tree Earrings
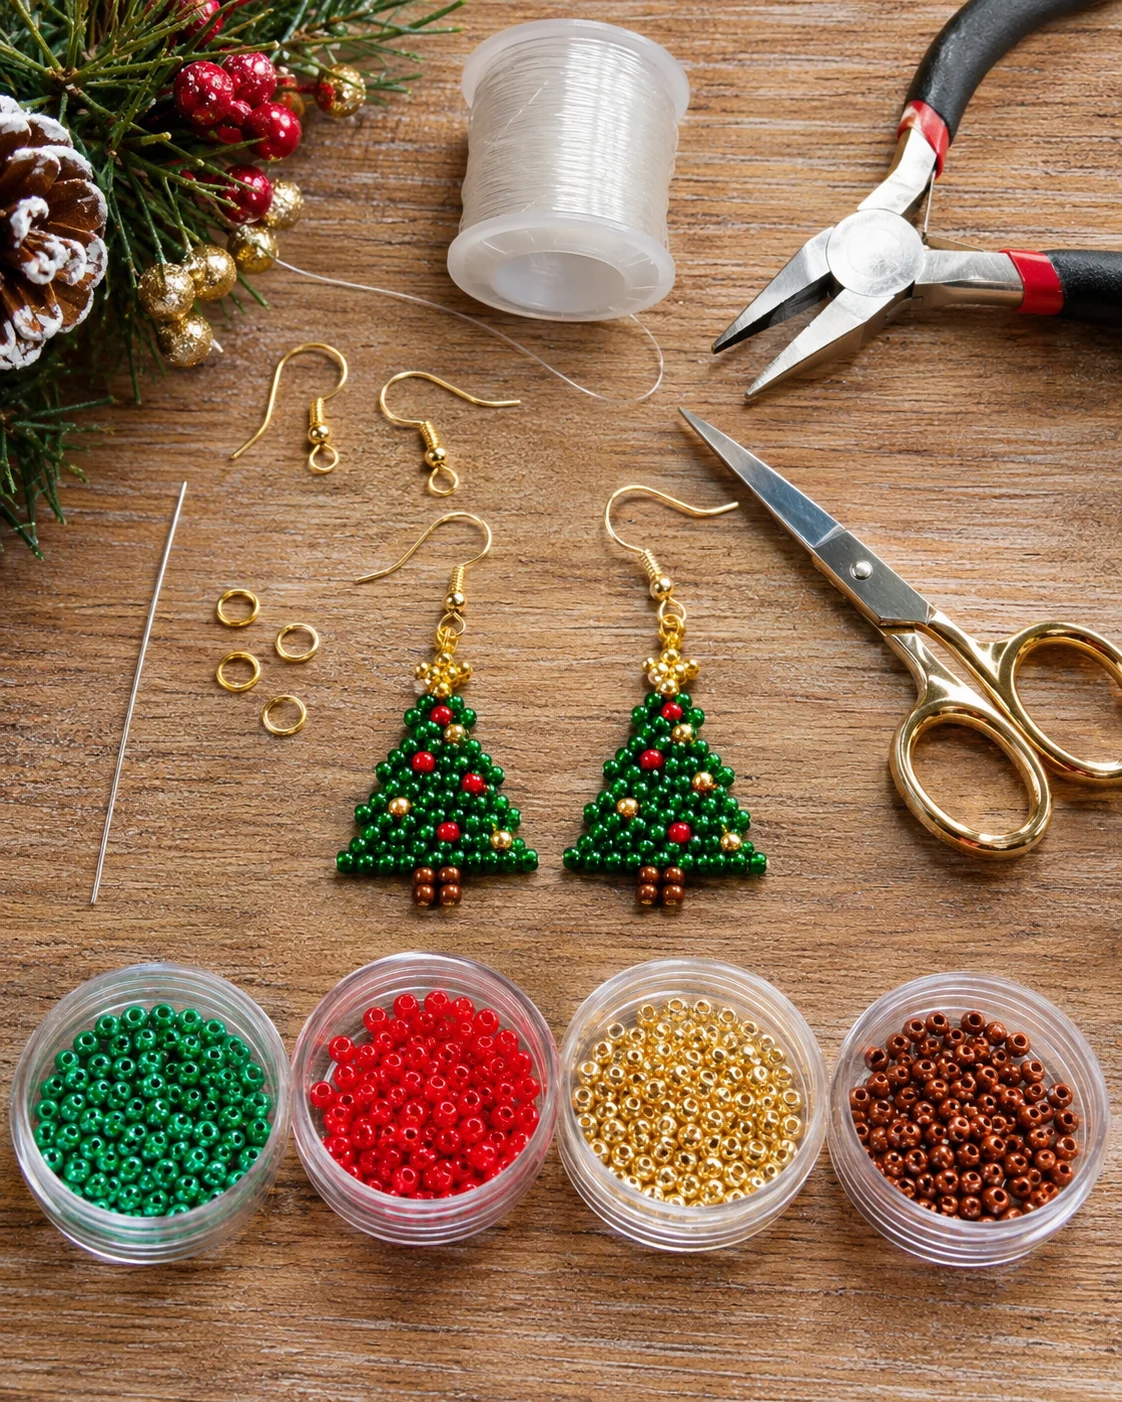
Before starting, gather your beads and jewelry-making tools. Small, evenly sized seed beads are particularly useful because they help create a neat triangular outline and keep the finished earrings looking balanced.
- Green seed beads: Choose one or two shades to create the tree branches.
- Red seed beads: Use these as miniature Christmas ornaments.
- Gold seed beads: Add festive details and a decorative tree topper.
- Brown seed beads: Use a few beads for the tree trunk.
- Beading thread: Choose a strong thread suitable for seed bead weaving.
- Beading needle: A fine needle that passes comfortably through the bead holes.
- Two earring hooks: Choose gold-tone or silver-tone findings.
- Jump rings: These connect the finished beaded trees to the earring hooks.
- Jewelry pliers: Useful for opening and closing jump rings.
- Scissors: For trimming the thread.
How to Make DIY Beaded Christmas Tree Earrings
The basic idea is to create two small triangular trees using seed bead weaving, then finish each one with a decorative top and an earring attachment. Brick stitch is a suitable technique because it allows the beadwork to grow row by row while keeping the triangular shape defined.
Step 1: Choose Your Christmas Colors
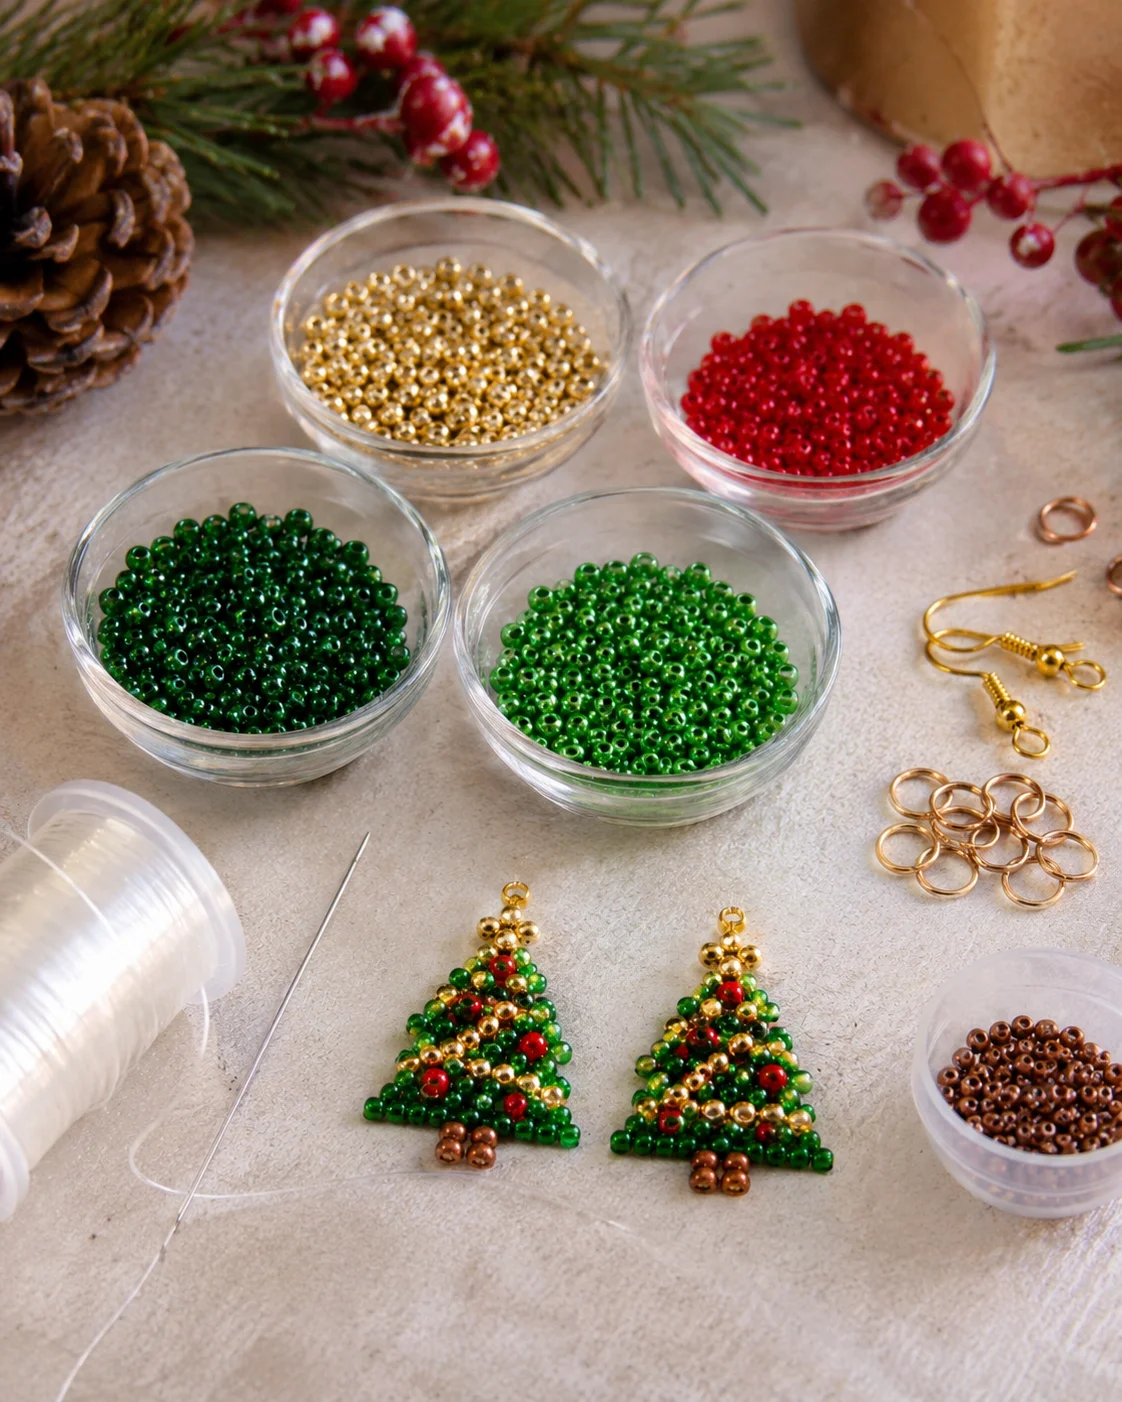
Start by separating your beads into small groups. Keep the green beads together for the main tree, with the red and gold beads nearby for decoration. You can use one green shade for a simple design or alternate two shades to give the branches a little more dimension.
Try arranging the colors on your work surface before threading the needle. This makes it easier to plan where the decorative beads will appear and helps you create a matching pair.
Step 2: Create the Base Row
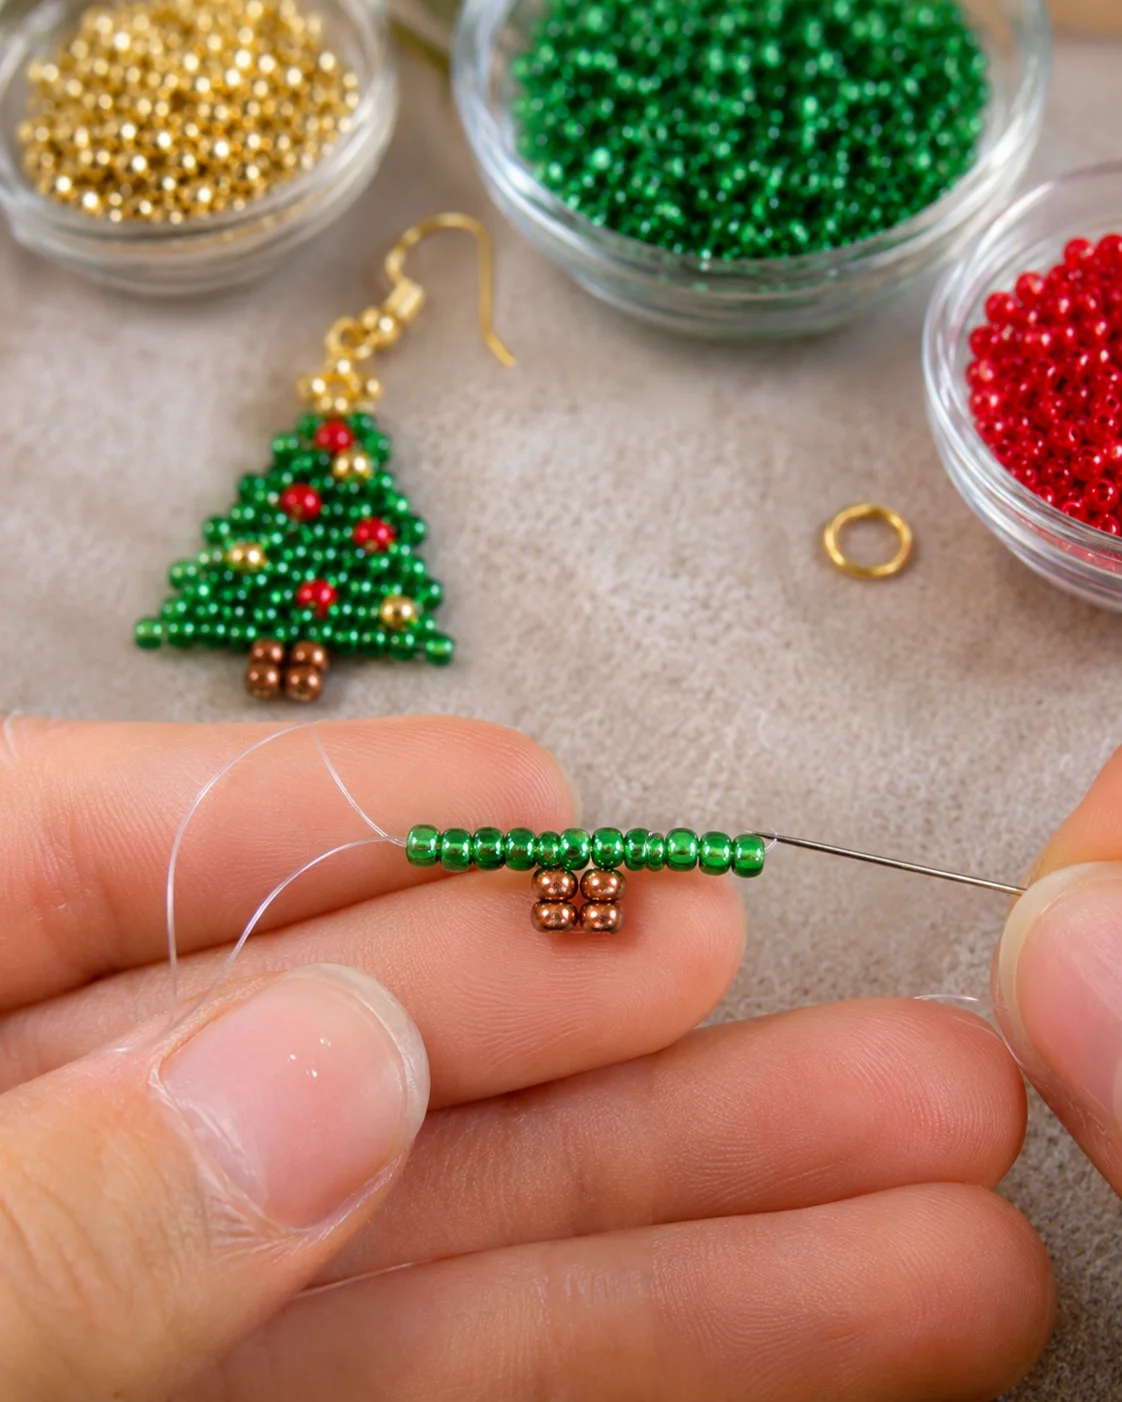
Thread your beading needle and prepare the foundation row for the first Christmas tree. The brick stitch technique builds new rows by connecting beads to the thread bridges between the beads in the previous row.
Keep the foundation row straight and make sure the beads sit close together without pulling the thread too tightly. A neat starting row makes the remaining triangular shape easier to work.
Step 3: Build the Christmas Tree Shape
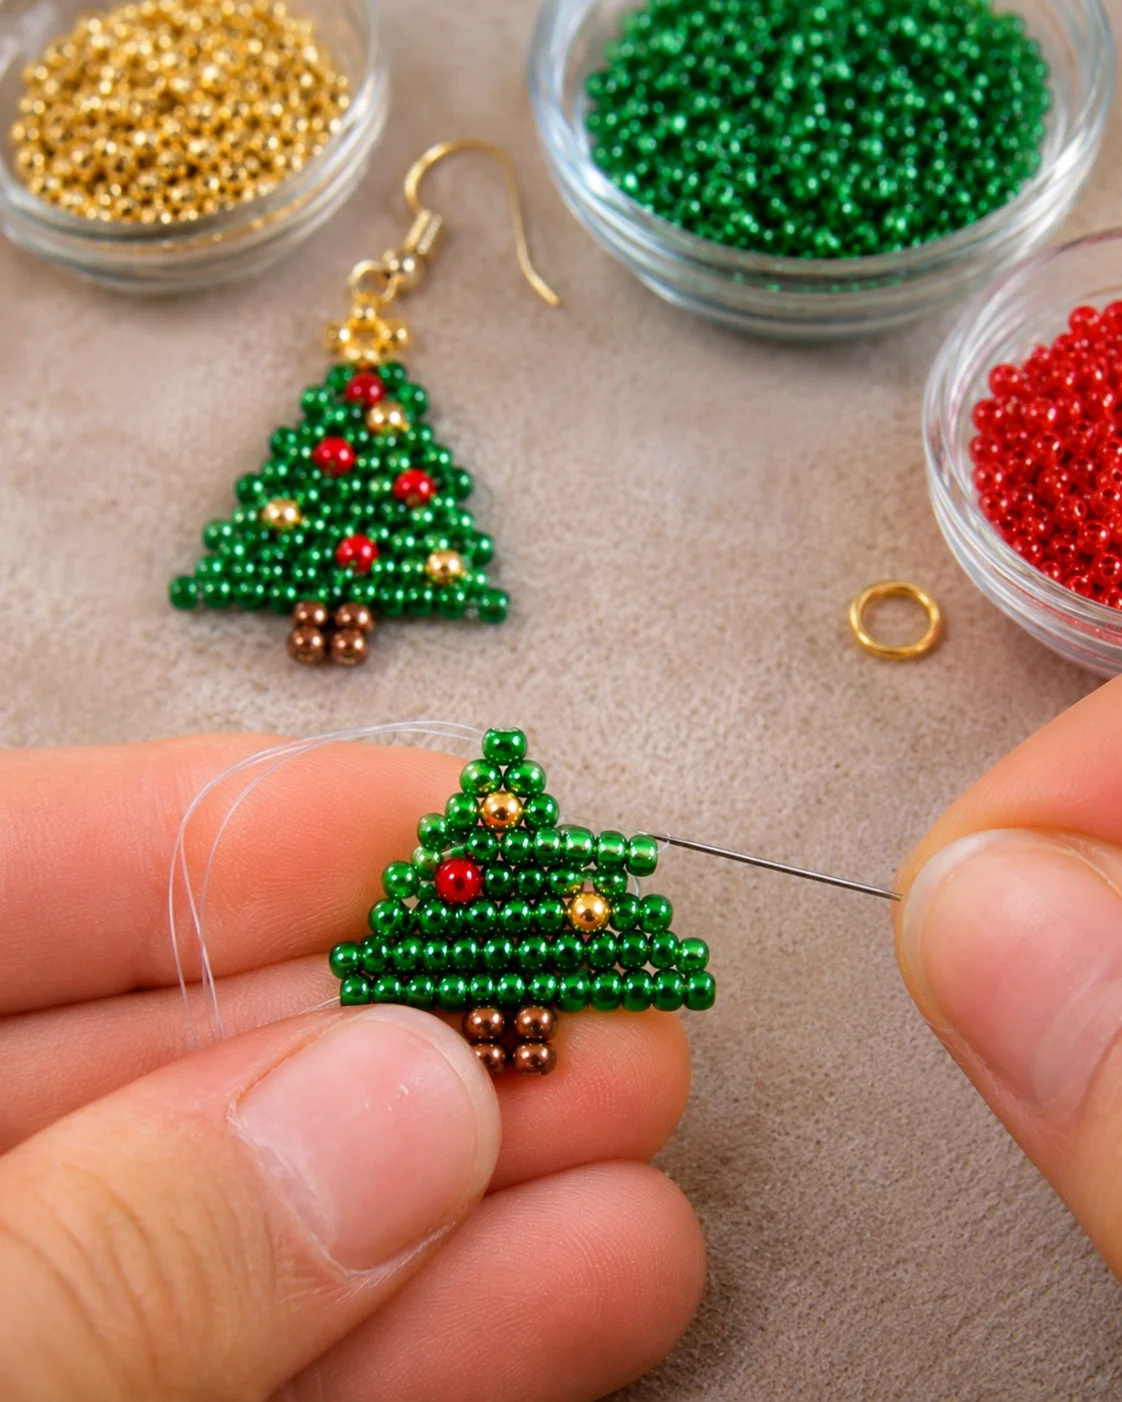
Continue adding rows of green seed beads using brick stitch. Gradually increase the width toward the lower part of the design, following your chosen tree pattern, then shape the upper section into a recognizable Christmas tree silhouette.
Pay attention to the edges as you work. The beads should sit evenly, and the thread tension should remain consistent so the finished tree doesn’t twist or become uneven.
Step 4: Add Colorful Christmas Decorations
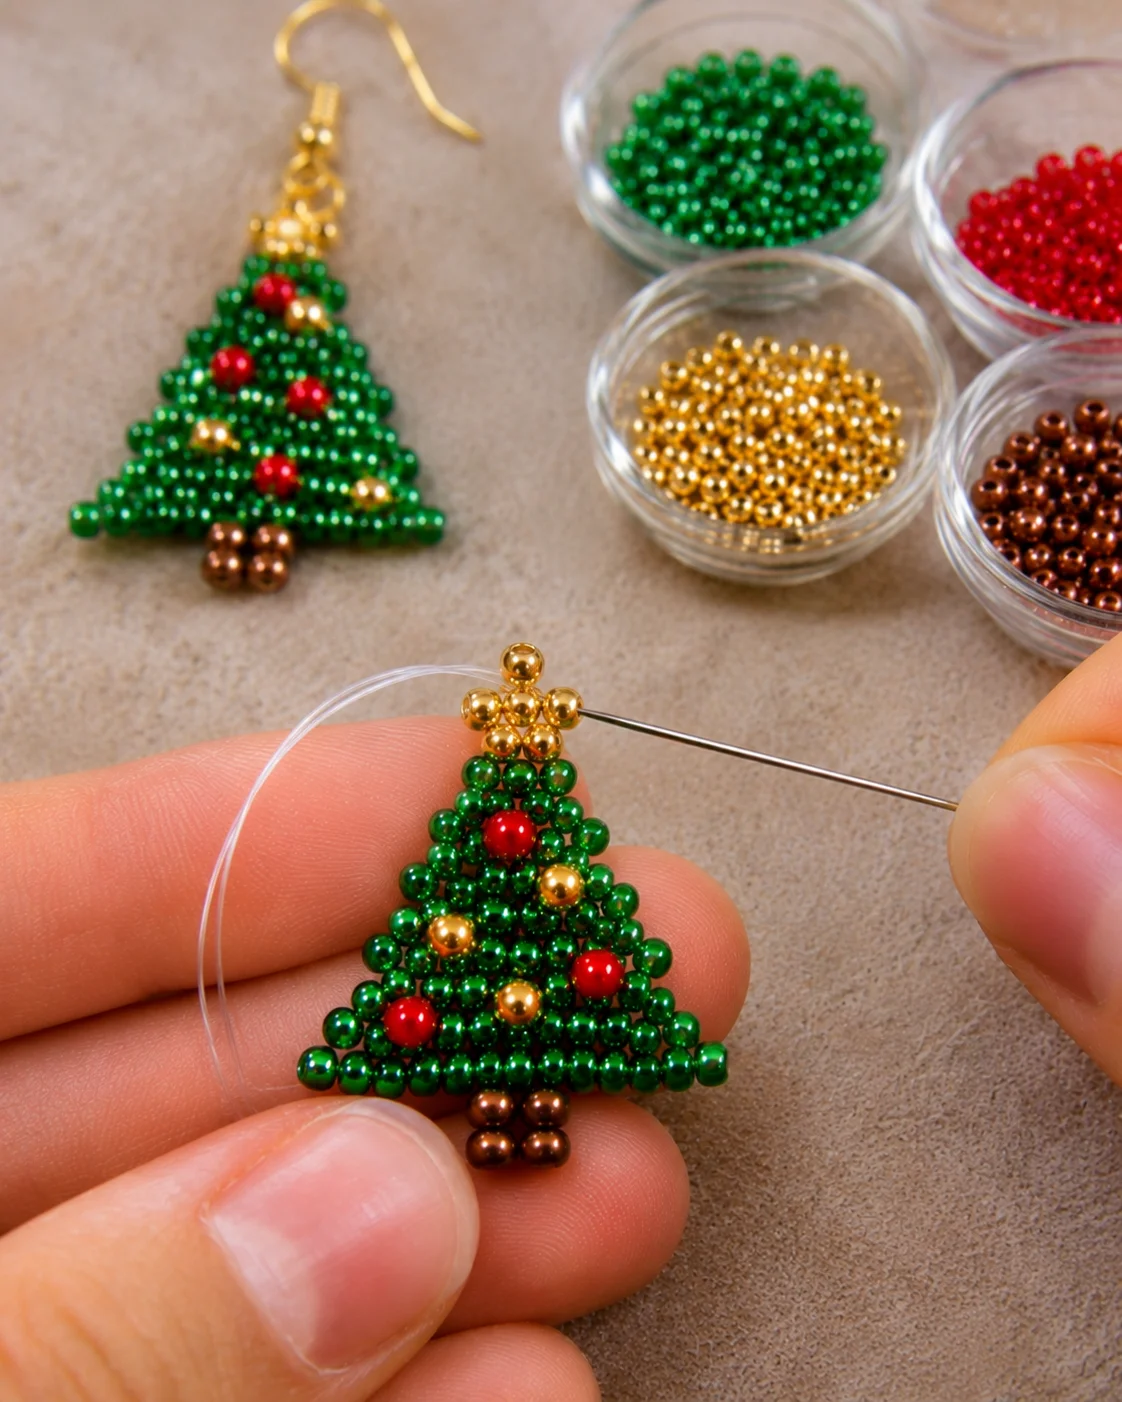
Now comes the decorative part. Introduce a few red and gold beads between the green branches to represent tiny Christmas ornaments. You can arrange them symmetrically for a traditional appearance or place them more casually for a playful handmade finish.
A small gold bead or decorative star at the top can complete the Christmas tree design. Keep the embellishments relatively small so they don’t overpower the triangular silhouette.
Step 5: Finish the Tree and Secure the Thread
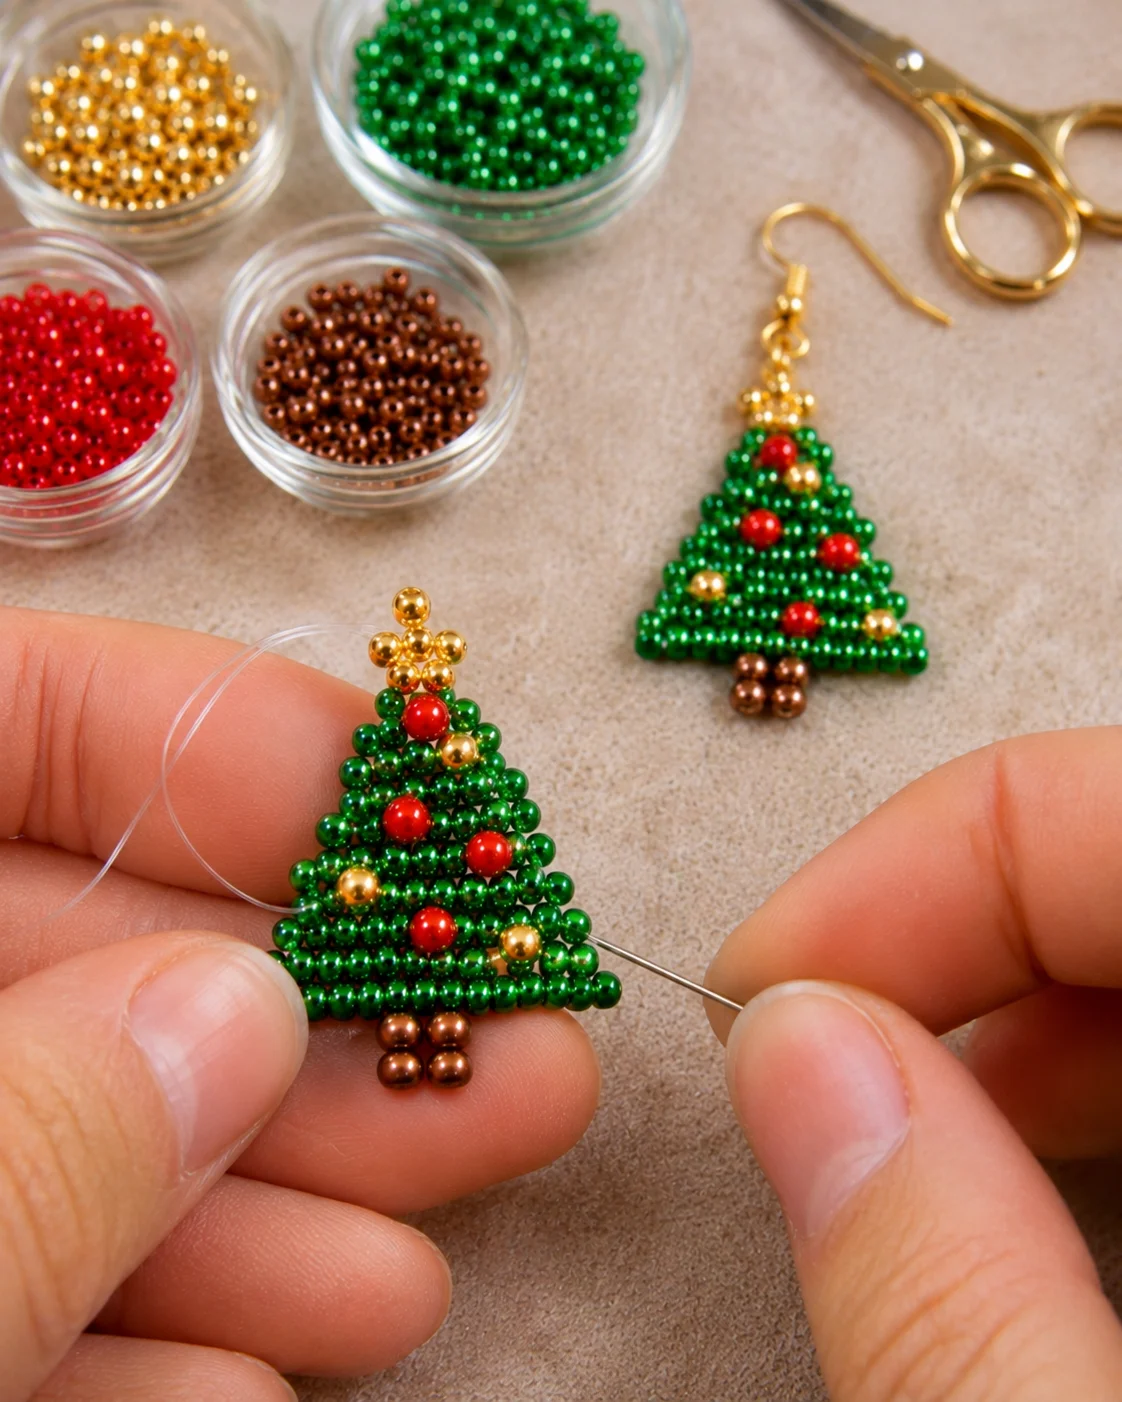
Once the beadwork is complete, carefully secure the thread by weaving it back through several existing beads. Avoid leaving loose thread ends, as they can affect the appearance and durability of the earrings.
Check the edges and make sure the beads are sitting comfortably together. Repeat the same process for the second earring, following the same color arrangement and approximate dimensions.
Step 6: Attach the Earring Hooks
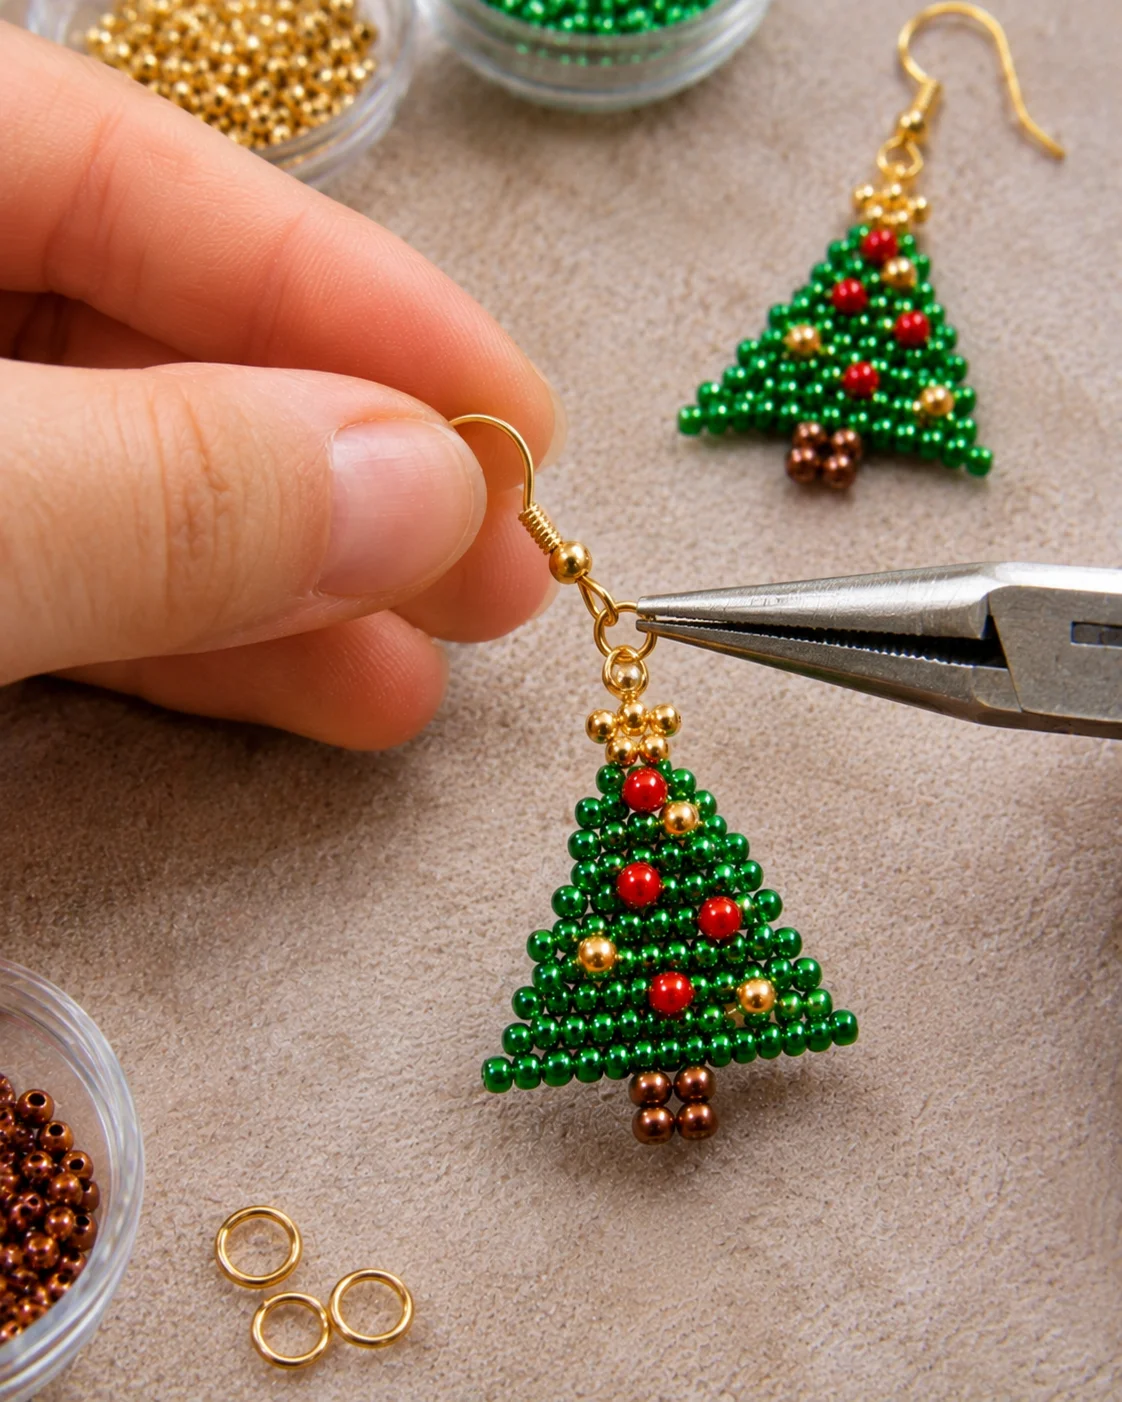
Use a jump ring to connect each finished beaded Christmas tree to an earring hook. Open the jump ring sideways with jewelry pliers rather than pulling its ends directly apart. Place it through the top attachment point and the loop of the earring hook, then close it securely.
Before wearing the earrings, check that both jump rings are properly closed and that the two trees hang in the same direction.
Christmas Color Combinations to Try
Traditional Christmas colors are always a lovely choice, but changing the bead palette can give the same tree design a completely different appearance.
- Classic Christmas: Emerald green, bright red, and metallic gold create a familiar holiday look.
- Winter Wonderland: White, icy blue, and silver give the earrings a cool, frosty appearance.
- Elegant Christmas: Deep forest green, champagne gold, and dark burgundy create a more understated combination.
- Sweet Pastel Christmas: Mint green, pale pink, and pearl white make the trees look soft and delicate.
- Traditional Rustic Style: Olive green, warm brown, and antique gold offer a slightly vintage-inspired finish.
Tips for Making Your Beaded Christmas Tree Earrings Look Neat
Small beadwork projects leave very little room for uneven tension or poorly placed beads. A few simple habits can make a noticeable difference in the finished pair.
- Use consistent bead sizes: Mixing significantly different bead sizes can make the edges uneven.
- Check your thread tension: Loose thread can leave visible gaps, while excessive tension can distort the triangular shape.
- Keep both earrings similar: Compare the two designs as you work instead of waiting until the end.
- Choose lightweight findings: Small earring hooks and suitable jump rings help keep the finished jewelry comfortable to wear.
- Secure the finishing thread: Weave thread ends through the beadwork carefully rather than relying on a simple loose knot.
How to Make Your Christmas Tree Earrings a Little Different
Once you’ve completed the traditional green design, there are several ways to personalize the earrings without changing the basic construction.
For a more sparkling appearance, introduce a few crystal beads or metallic seed beads between the branches. You could also replace the simple gold topper with a tiny star-shaped bead or use a different color for each miniature ornament.
Another option is to experiment with the size of the trees. Smaller designs make delicate everyday holiday accessories, while slightly larger trees create a more noticeable statement piece. Just remember that additional beads and decorative elements can increase the finished weight.
Are Beaded Christmas Tree Earrings a Good Handmade Gift?
Absolutely. Their compact size makes them convenient to package in a small jewelry box or a festive gift pouch. They can also be made in different color combinations to suit the person receiving them.
If you’re preparing several handmade Christmas gifts, consider making a few pairs in different palettes. A traditional green-and-red pair, a white-and-silver version, and a gold-accented design can all come from the same basic idea.
For more handmade holiday inspiration, explore these creative craft ideas and discover other ways to make personalized seasonal gifts.
Frequently Asked Questions
What beads are best for Christmas tree earrings?
Seed beads are a popular choice because their small, consistent shapes work well for detailed bead weaving. Miyuki Delica and Preciosa Rocailles are examples of beads commonly used in Christmas-themed jewelry projects.
Are beaded Christmas tree earrings suitable for beginners?
They can be suitable for beginners who are comfortable handling small beads and learning basic bead weaving. Brick stitch requires some practice, particularly when increasing and decreasing rows to create a triangular shape.
How do you attach earring hooks to beaded earrings?
A small jump ring can connect the finished beadwork to an earring hook. Use jewelry pliers to open and close the ring sideways, making sure the attachment is properly secured.
Can I make beaded Christmas tree earrings in different colors?
Yes. Green and red are traditional, but combinations such as white and silver, forest green and champagne gold, or pastel pink and mint can create beautiful alternative designs.
Can I make these earrings as Christmas presents?
Yes. Beaded Christmas tree earrings are small handmade accessories that can be packaged individually as stocking stuffers, party favors, or thoughtful holiday gifts.
Explore More Beaded Christmas Jewelry Inspiration
If you enjoy working with seed beads, try exploring different Christmas motifs and bead-weaving techniques. For another approach to festive tree jewelry, take a look at the PRECIOSA Christmas earrings tutorial, which demonstrates a brick stitch design using colorful seed beads and traditional holiday details.
You can also explore the PotomacBeads Seed Bead Christmas Tree Earrings tutorial for another interpretation of this seasonal jewelry project, including its suggested materials and ladder stitch technique.