Small handmade projects are especially satisfying at Christmas, and crochet keychains are a good example. They use very little yarn, can be finished relatively quickly, and make useful little gifts for friends, coworkers, stocking stuffers, or even a festive bag charm. This guide explains how to make your own DIY Christmas keychains step by step, from choosing the yarn and hook to adding the keychain hardware securely.
For a first project, a simple Christmas tree is one of the easiest shapes to work with. Once you understand the basic construction, you can use the same approach for mittens, Santa hats, snowflakes, reindeer, candy canes, and other small seasonal designs. You can also browse these crochet keychain patterns for more project ideas.
What You Need to Make a Christmas Keychain
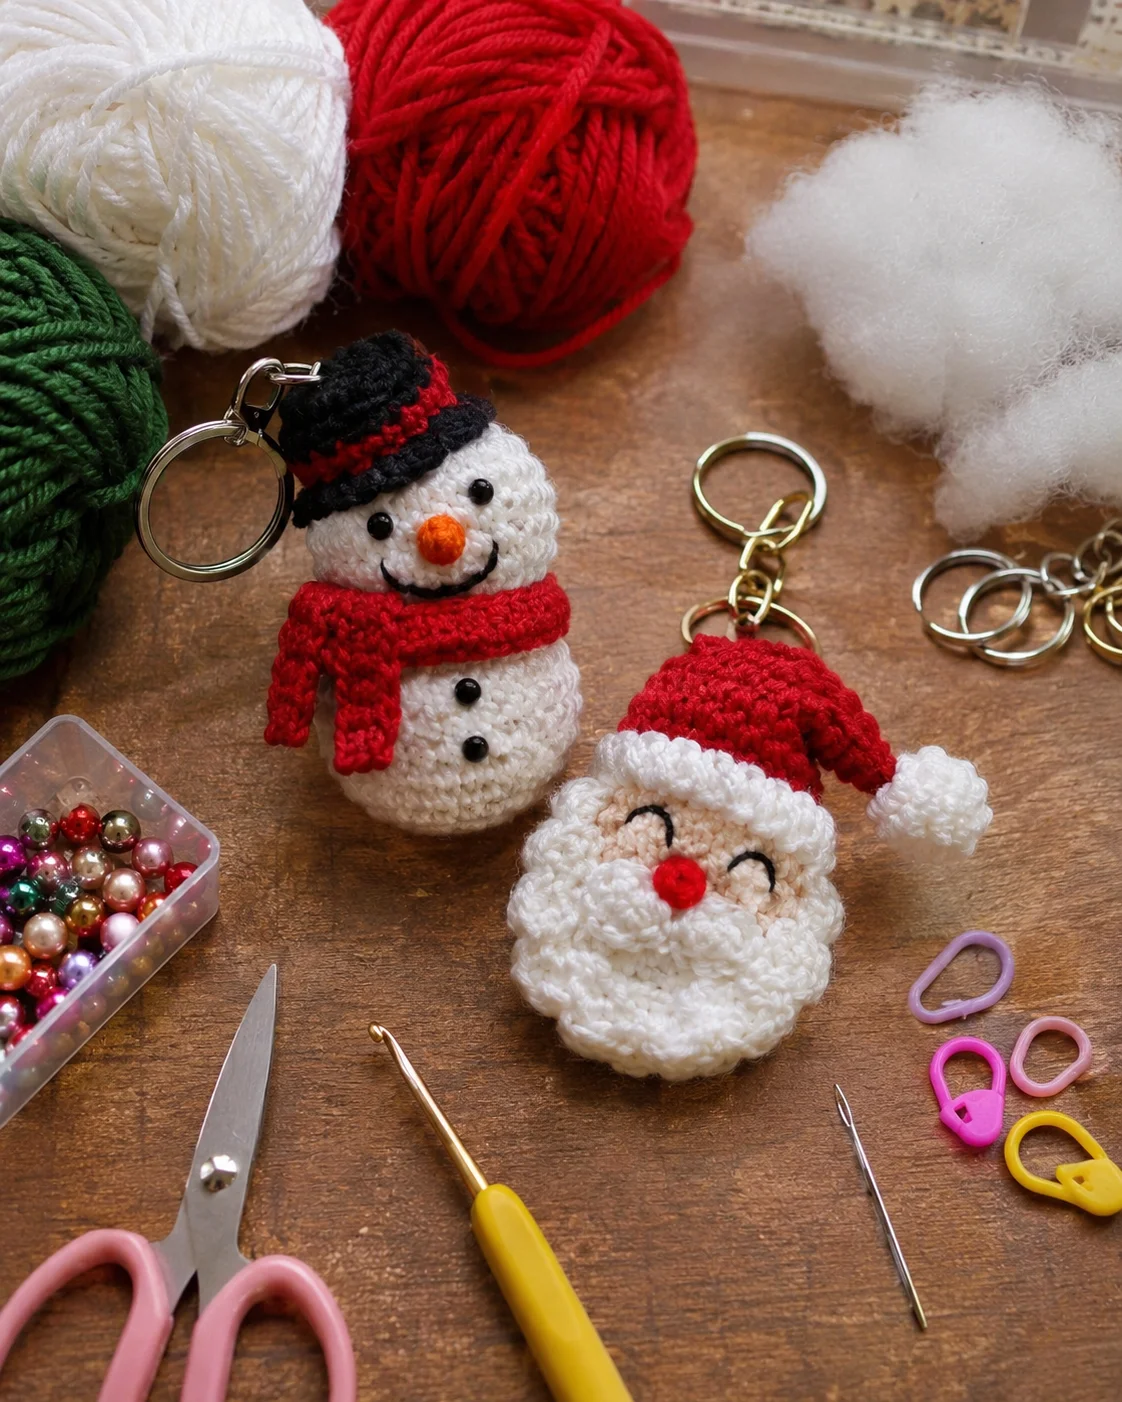
You do not need a large collection of supplies for a small crochet keychain. The exact yarn and hook depend on the pattern, but a typical project uses:
- Small amounts of cotton or acrylic yarn in Christmas colors
- A crochet hook suitable for your yarn
- Fiberfill if you are making a stuffed amigurumi-style keychain
- A yarn needle
- Scissors
- A stitch marker for projects worked in continuous rounds
- A metal keychain ring, lobster clasp, or swivel clasp
- Optional beads, embroidery thread, buttons, or other decorations
For small amigurumi pieces, tighter stitches are usually helpful because they keep the stuffing from showing through the fabric. A smaller hook can also produce a firmer fabric when appropriate for the yarn.
Step 1: Choose Your Christmas Design
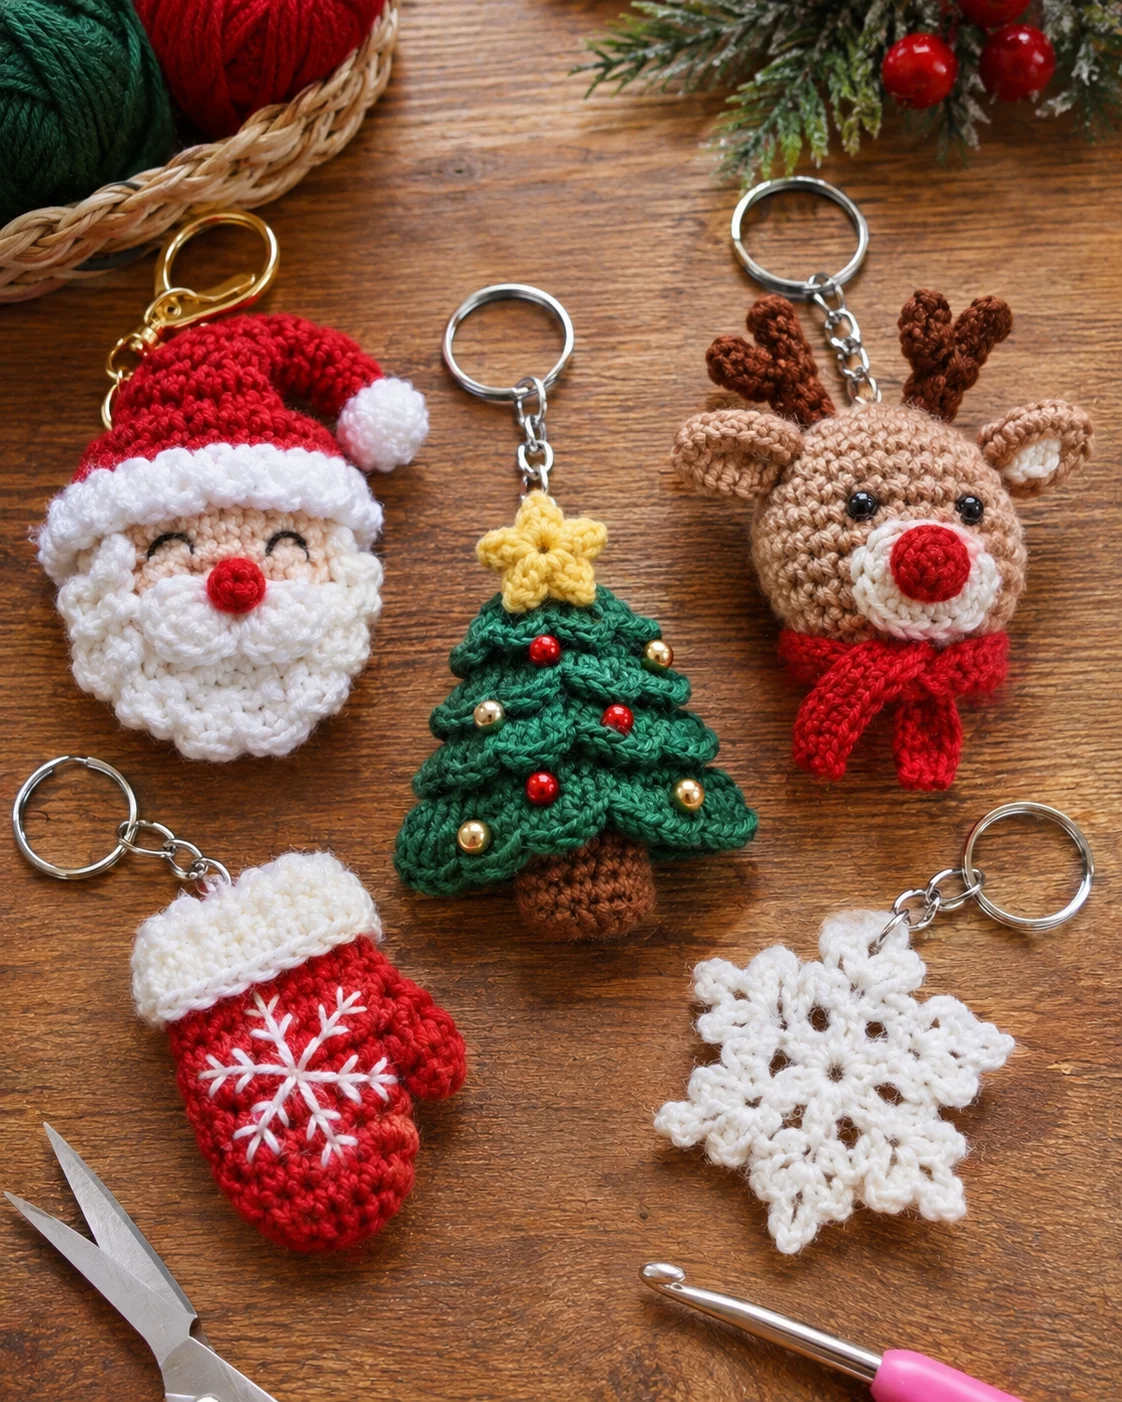
Start with a shape that matches your skill level. A flat Christmas tree, snowflake, or mitten is usually simpler than a detailed three-dimensional character with several separate pieces.
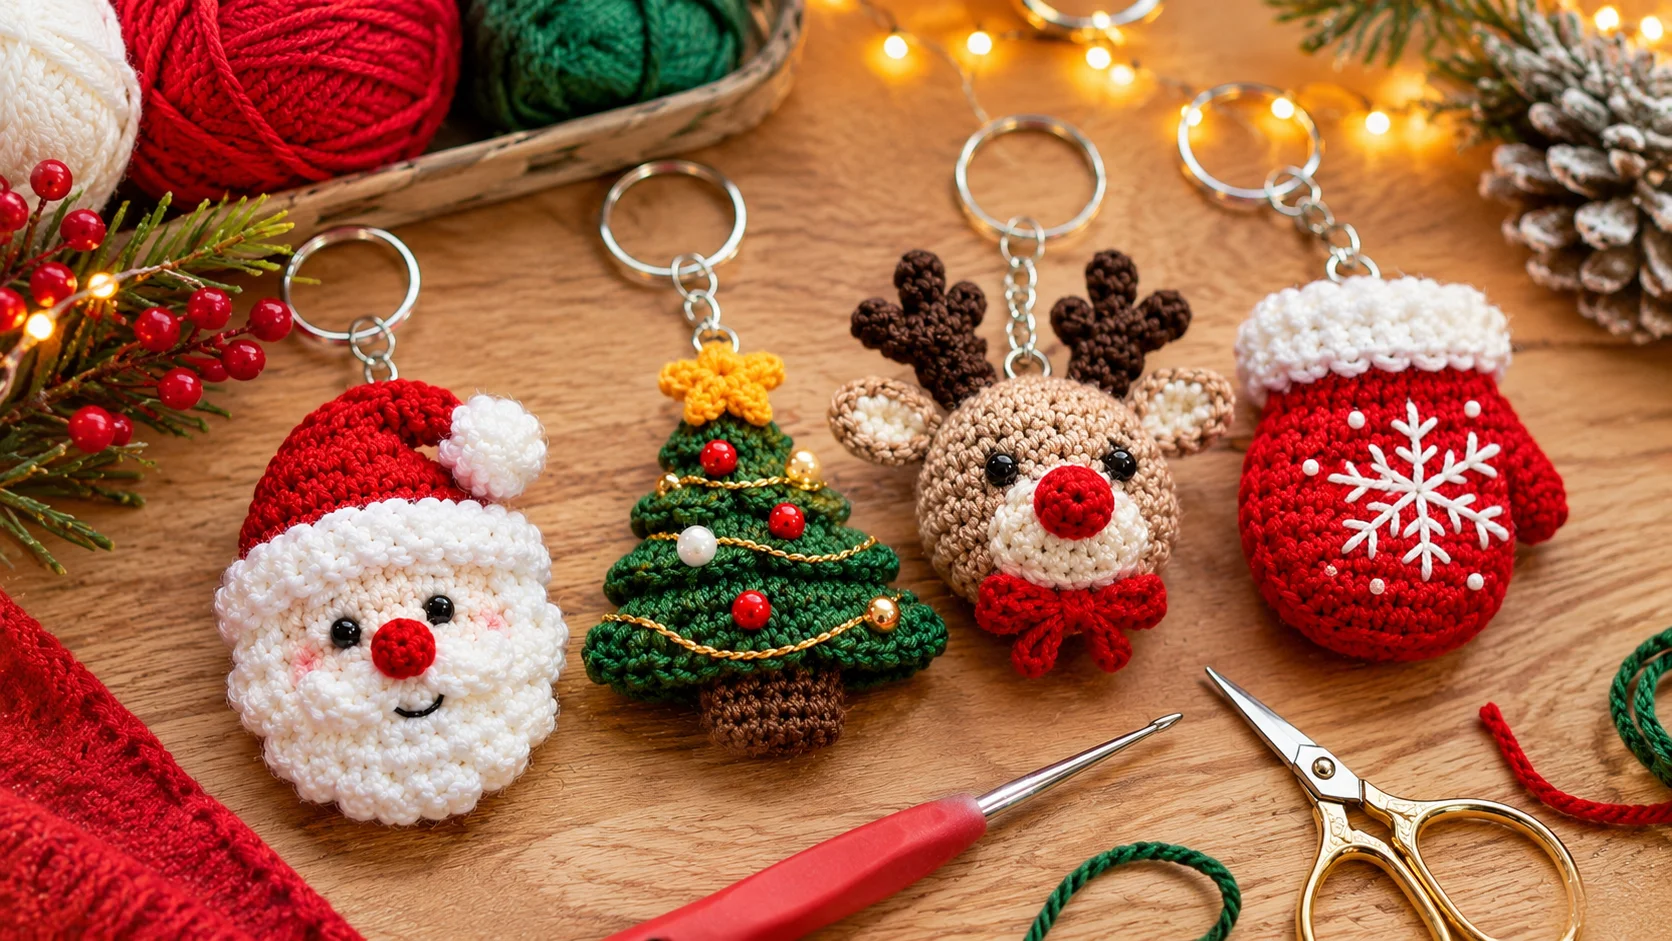
A Christmas tree is particularly practical because the silhouette is recognizable even when the finished piece is very small. You can keep it simple with green yarn and a small brown trunk, or add a star, beads, embroidered ornaments, or a tiny bow.
If you prefer a character project, a miniature Santa or reindeer can be turned into a keychain once the crochet piece is finished. For example, Clairea Belle Makes has a free mini Santa Claus keychain pattern with separate arms, legs, body, and finishing instructions. See the original mini Santa Claus keychain pattern for the designer’s complete instructions.
Step 2: Pick the Yarn and Hook
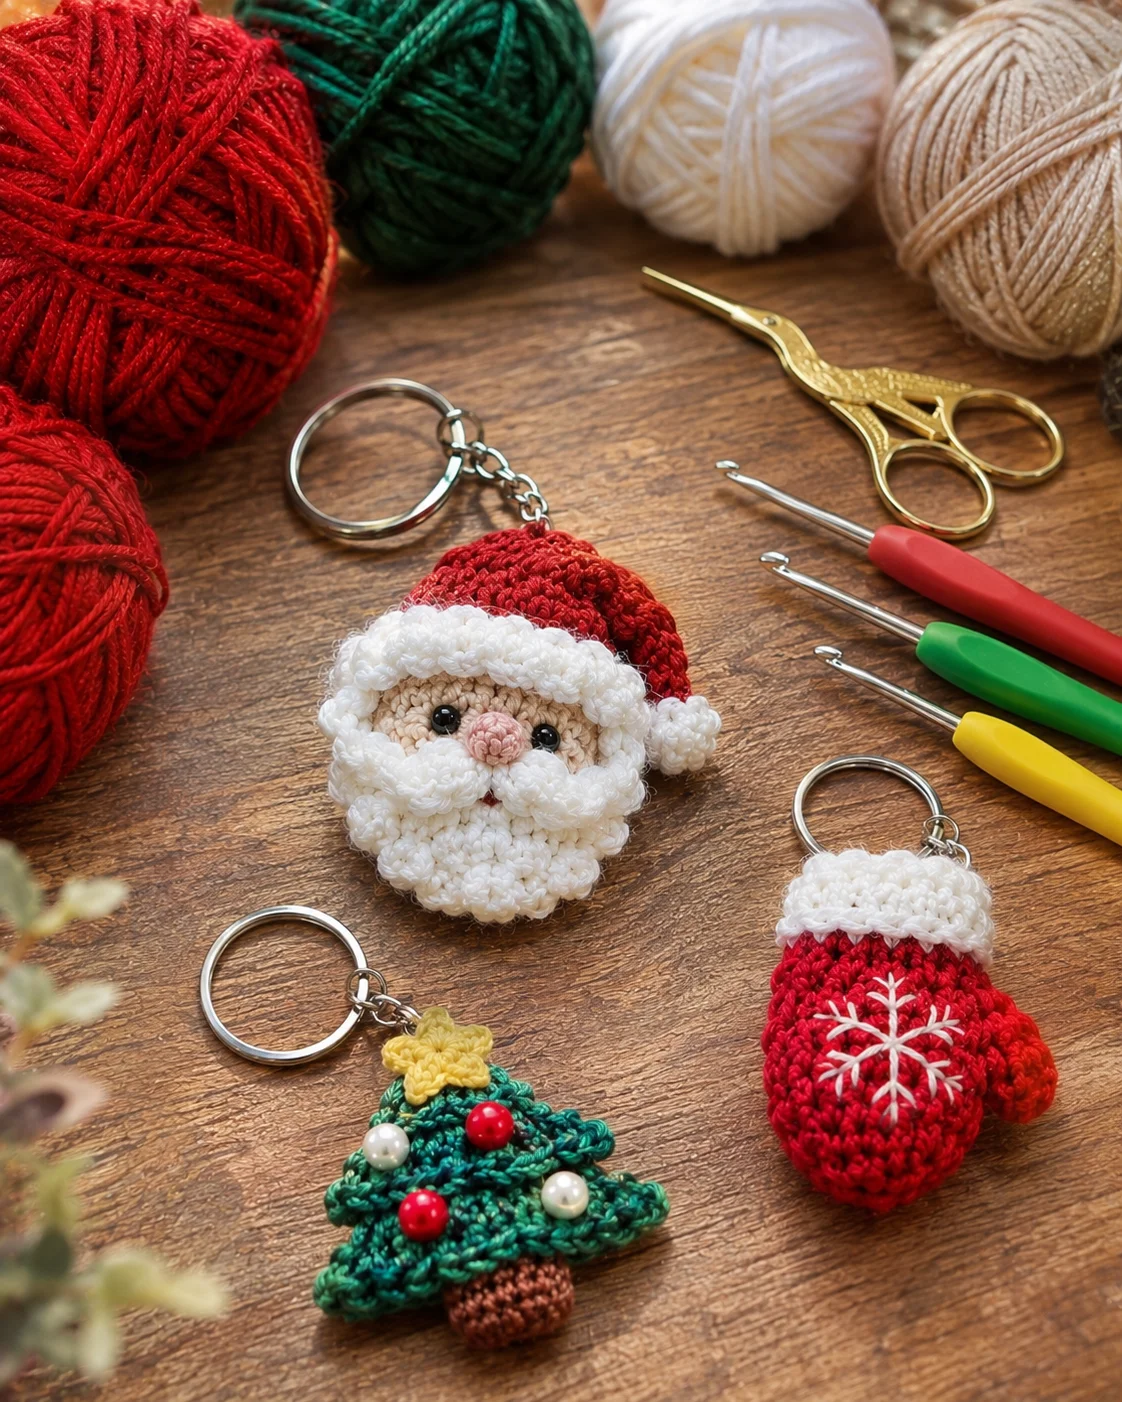
Small keychains generally look best when the yarn produces a firm, compact fabric. Cotton is a popular choice for small crochet accessories because it gives clear stitch definition, while acrylic can be useful when you want inexpensive colors for making several gifts.
Do not choose your hook size based only on the finished size shown in another pattern. Follow the original designer’s recommendation whenever you are using a specific pattern. For example, one Christmas keychain pattern by PurelyWorks Crochet lists sport-weight yarn and a 2.5 mm hook. Check the original Christmas Keychain pattern on Ravelry for its complete materials and instructions.
Step 3: Crochet the Main Shape
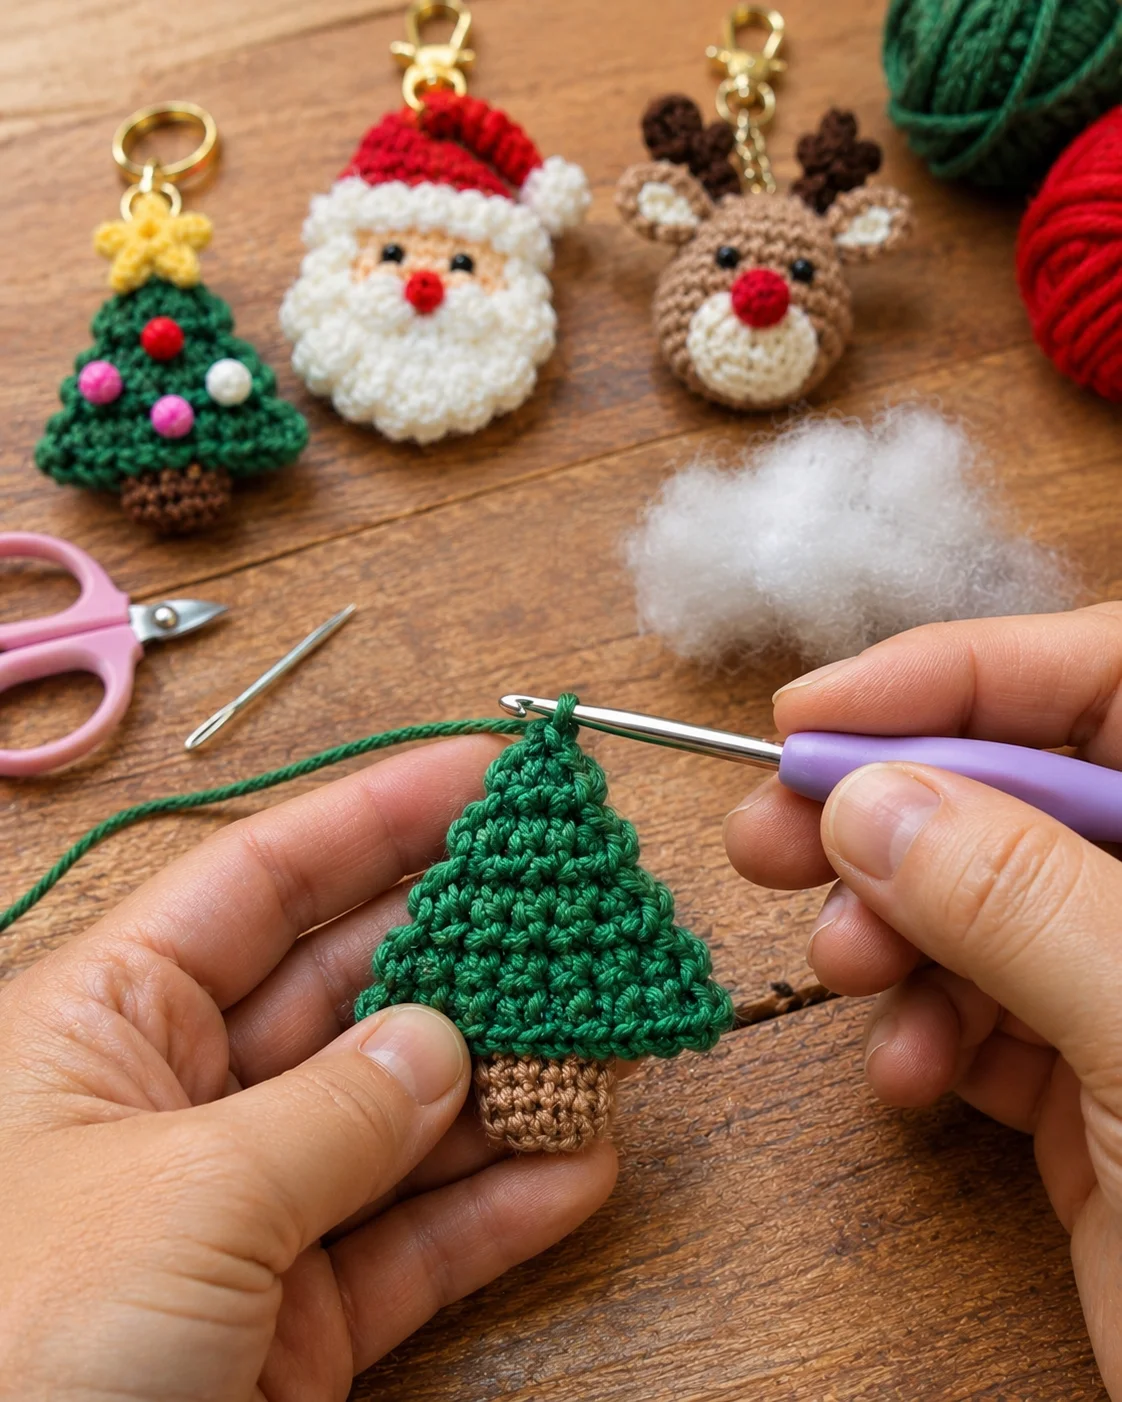
The construction depends on the design, but many small Christmas keychains use basic crochet stitches such as single crochet, slip stitch, chains, increases, and decreases.
For a simple stuffed design, you can generally think of the process in three stages: start small, increase until the widest part is reached, and then decrease to close the shape. Add a small amount of stuffing before the opening becomes too narrow.
Keep your tension consistent. Very loose stitches can make a miniature project look uneven and may allow stuffing to show through. Very tight stitches, on the other hand, can make increases and decreases difficult to work.
Step 4: Add the Christmas Details
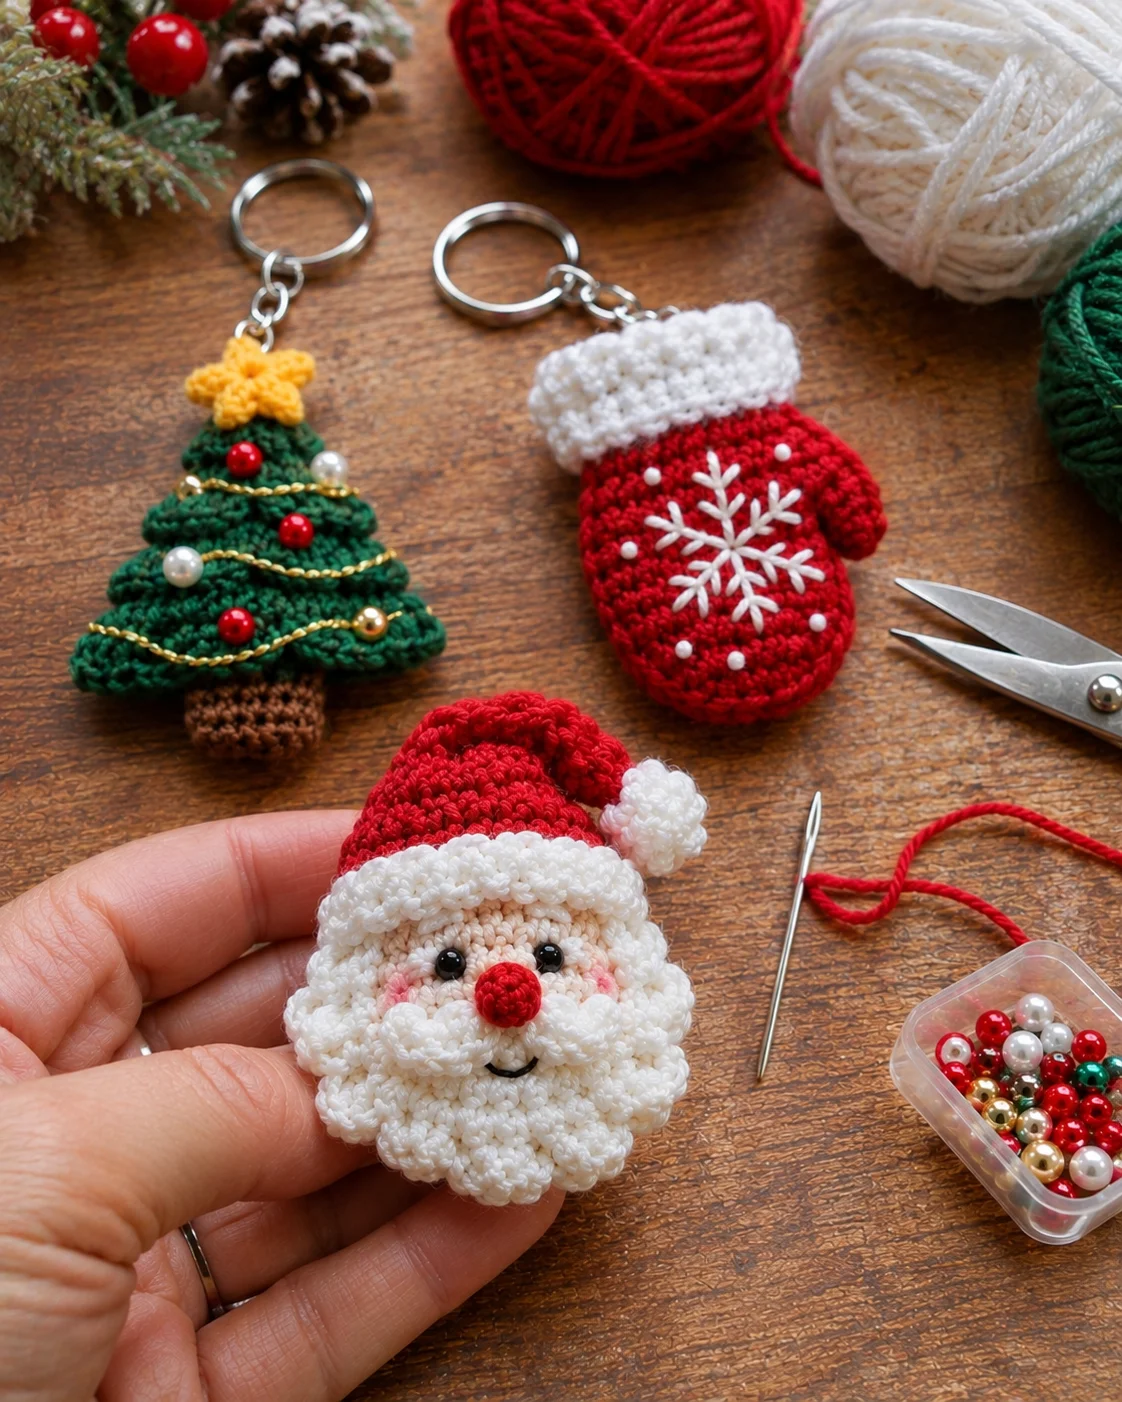
This is where a basic crochet shape becomes a Christmas keychain.
For a tree, you might add small embroidered ornaments, a star, a contrasting trunk, or a few beads. A mitten can have a fluffy-looking cuff and an embroidered snowflake. A Santa design can use red and white yarn with small facial details.
Keep decorations relatively light. A keychain gets moved around much more than a Christmas ornament, so loose decorative pieces can become annoying or detach with repeated use.
For example, the free mitten keychain pattern from Penguin Hobbies includes a snowflake embroidered onto the finished mitten before the keychain hardware is attached. See the original mitten keychain pattern and finishing instructions.
Step 5: Stuff the Keychain if Needed
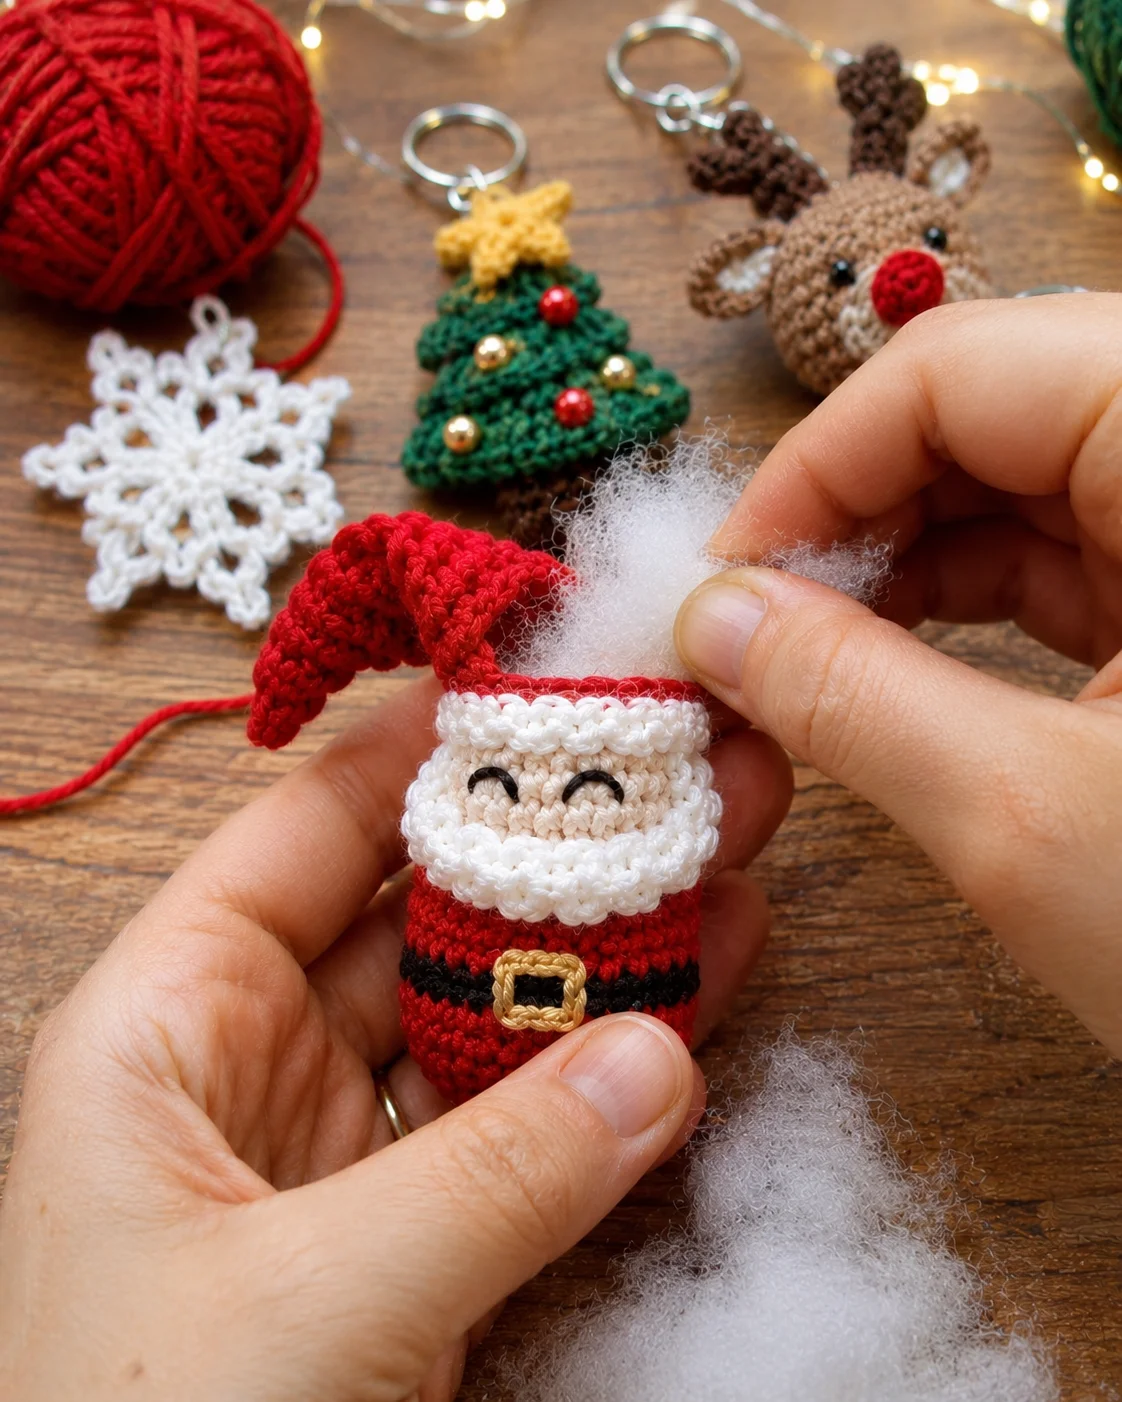
If your design is three-dimensional, add fiberfill gradually rather than putting a large amount inside at once. Small amounts are easier to distribute evenly, especially around narrow areas.
The finished piece should feel firm enough to hold its shape without becoming excessively hard. Once the opening is almost closed, check the shape and add a little more stuffing if necessary.
Flat designs such as snowflakes and some Christmas trees do not need stuffing at all. That can make them faster to crochet and easier to turn into lightweight bag charms.
Step 6: Finish and Weave in the Ends
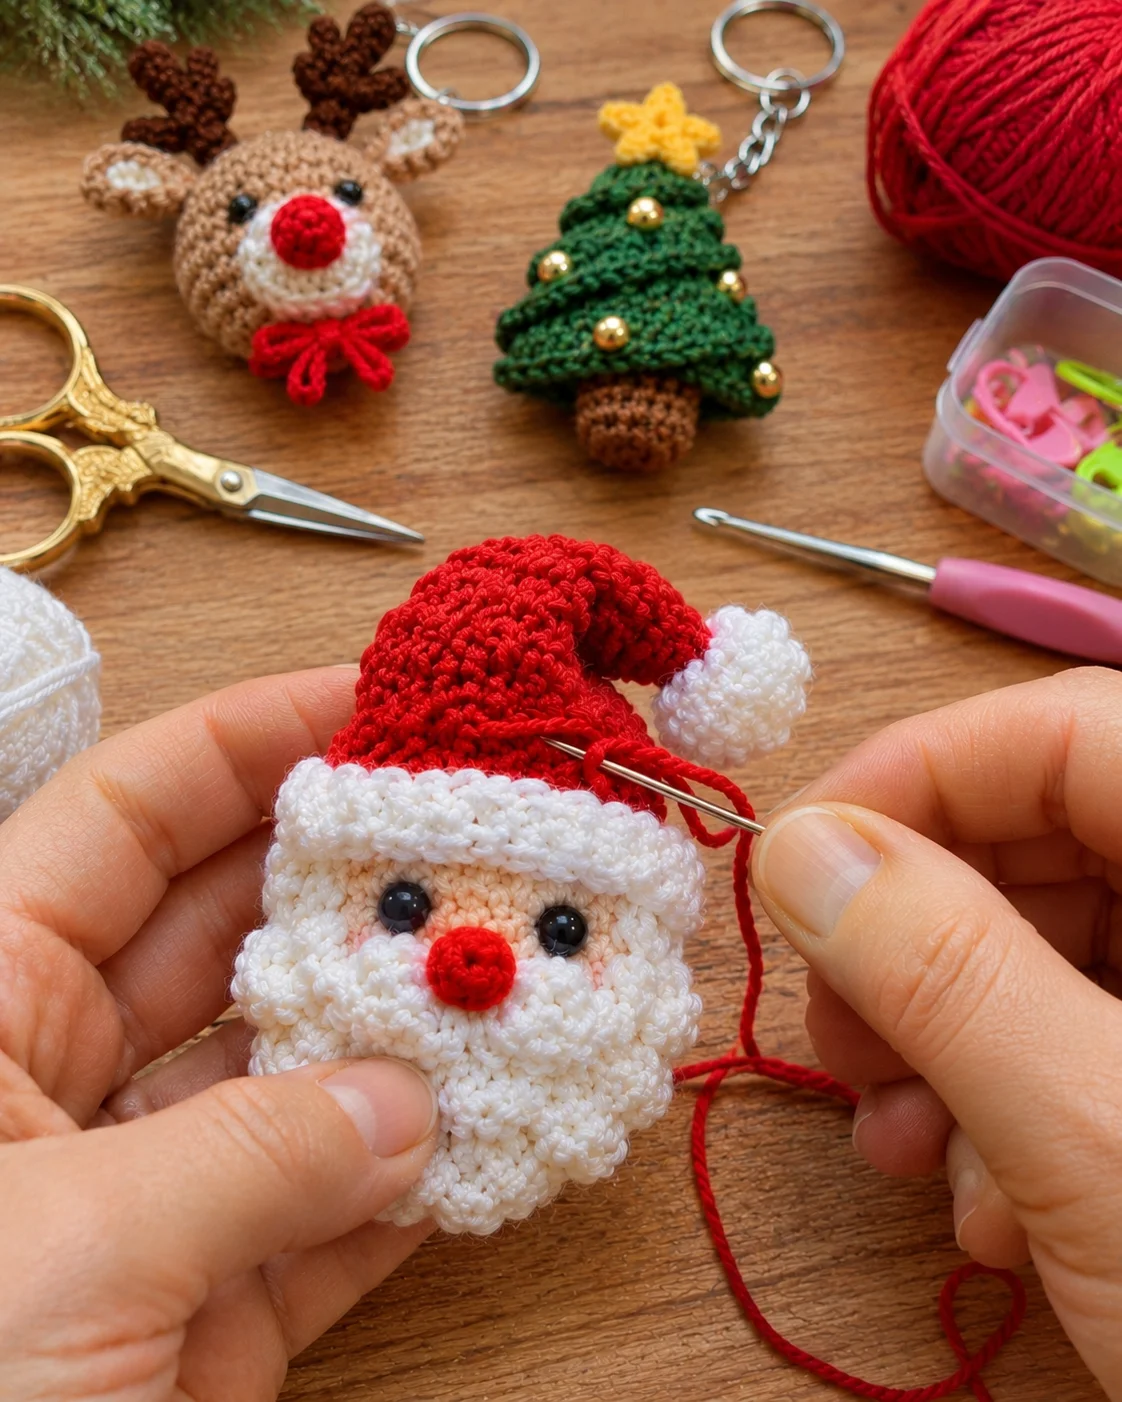
Before attaching the hardware, take a moment to finish the crochet properly. Fasten off according to the pattern and weave the yarn tail securely through several stitches on the back or inside of the piece.
For a stuffed keychain, avoid leaving long loose tails inside the piece. For sewn details, use a yarn needle to secure the thread and trim the excess neatly.
This small finishing step matters because the keychain will be handled, pulled, and carried regularly.
Step 7: Attach the Keychain Hardware
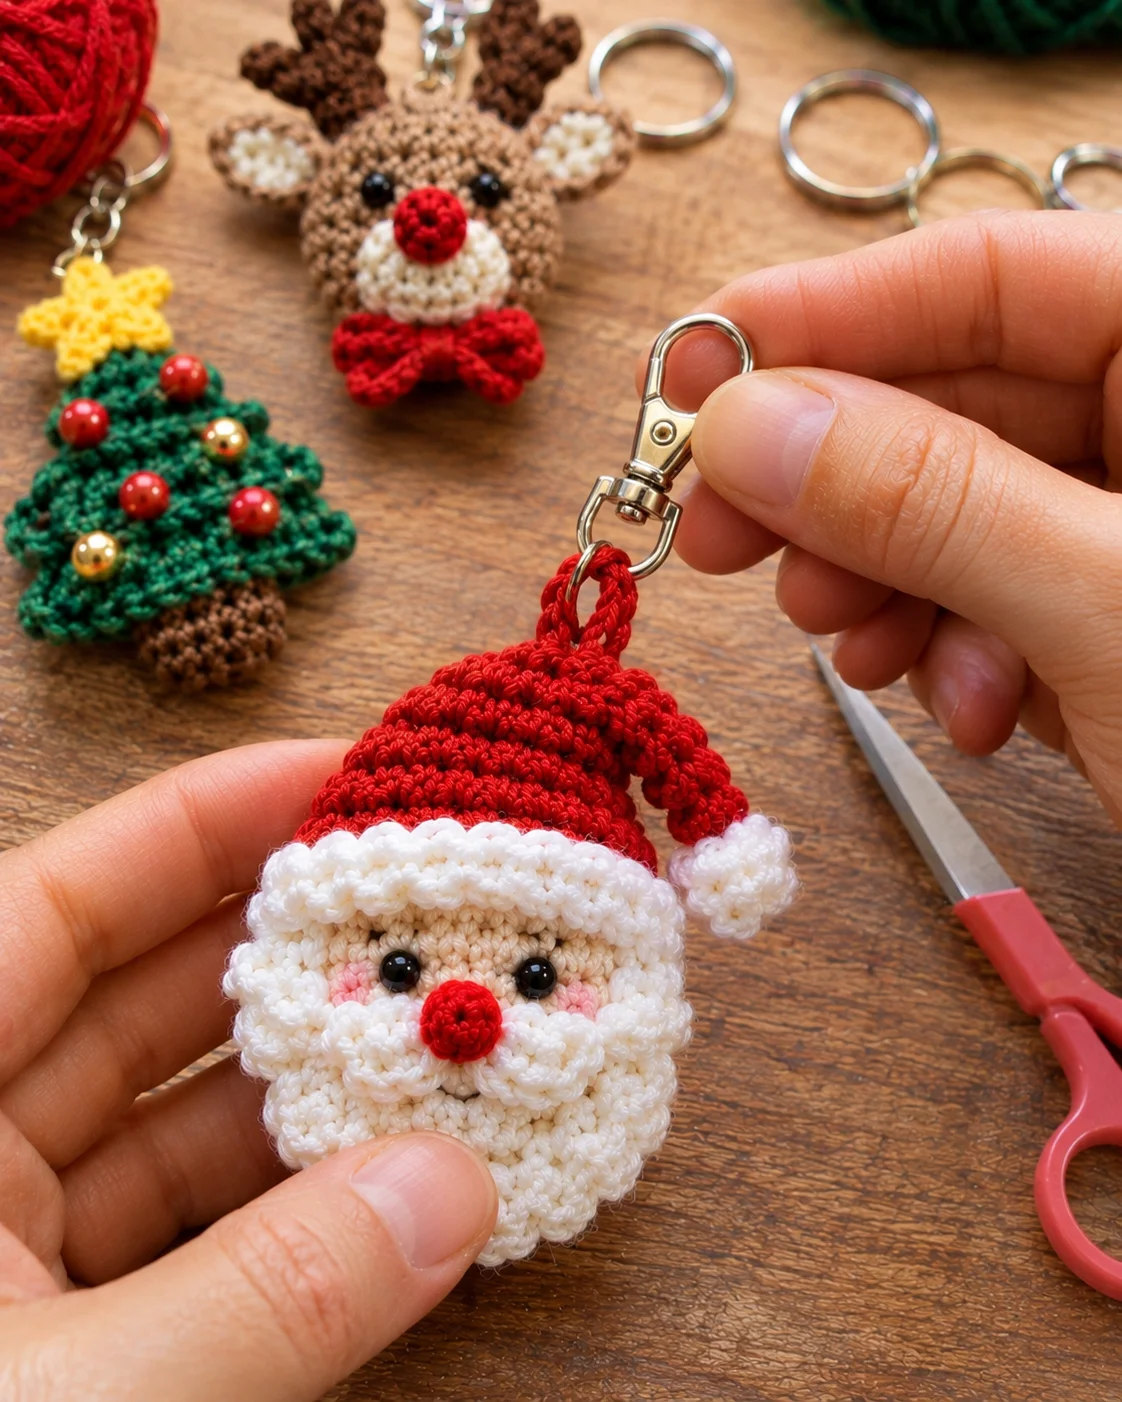
The final step is turning the crochet project into an actual keychain. Depending on the design, you can use a split keyring, lobster clasp, swivel clasp, or a small jump ring.
The attachment point should be secure. If the crochet piece has a crocheted loop at the top, pass the hardware through that loop. For a design without a loop, a small jump ring can be attached through a sturdy section of the crochet fabric, provided the construction allows it.
Another option is to crochet a short chain loop and secure it firmly to the top of the project. Sew through the attachment area several times rather than relying on a single pass of yarn.
Step 8: Check the Finished Keychain
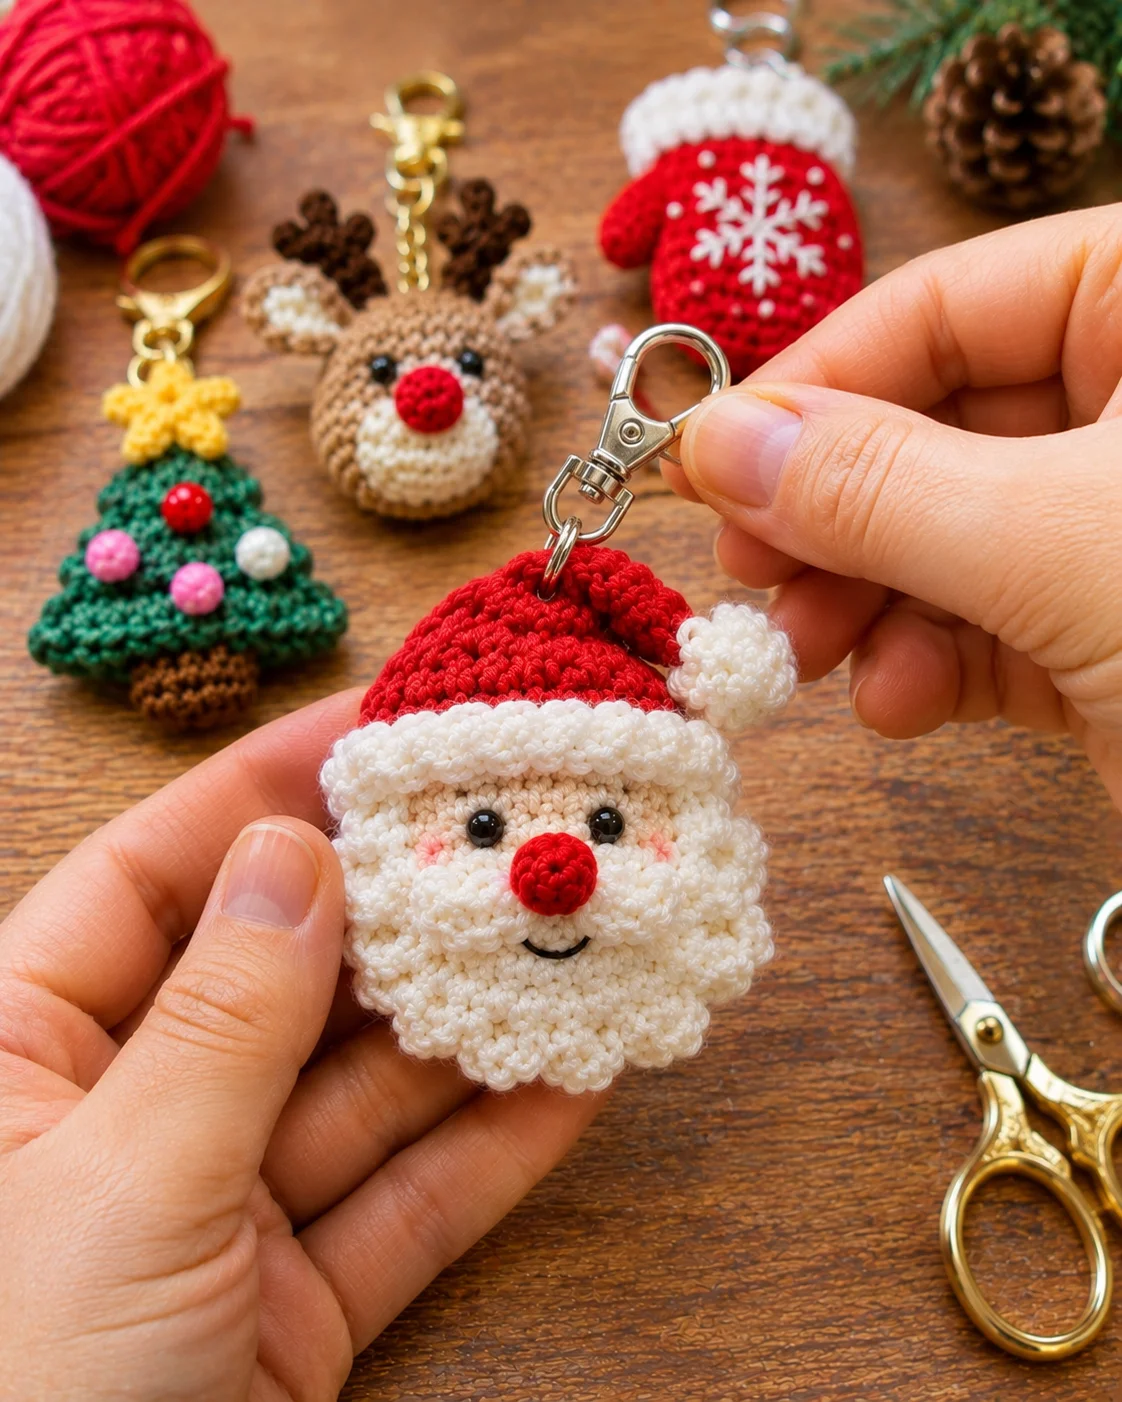
Before giving the keychain away, gently pull on the hardware and attachment point to make sure everything is secure. Check that decorative elements are firmly attached and that there are no loose ends that need trimming.
This is particularly important when making several keychains as Christmas gifts. It is much easier to reinforce an attachment point before the finished pieces are wrapped.
Easy Christmas Keychain Ideas to Try
Mini Christmas Tree
A tiny tree is one of the most straightforward seasonal designs. Use green yarn for the main shape and add a small star, beads, or embroidered decorations. A free Christmas tree keychain pattern by Natalia Zaytseva uses green, brown, white, gold, and silver yarns and includes keychain hardware in the materials list. View the original Christmas tree keychain pattern.
Christmas Mitten
A mitten has a recognizable Christmas look without requiring an overly complicated shape. Red yarn with a contrasting cuff works well, and an embroidered snowflake adds a seasonal detail without making the project bulky.
Santa
A miniature Santa makes a fun stocking stuffer or handmade gift. The face, beard, hat, and traditional red-and-white colors make the character recognizable even at a small scale. For another Santa project, you can follow a dedicated simple crochet keychain tutorial for inspiration when planning your own small design.
Snowflake
A snowflake is a good choice when you want a lightweight keychain with little or no stuffing. Small snowflakes can also double as Christmas ornaments or bag charms. The attachment can be made through a sturdy point at the top or through a small crocheted loop.
Reindeer
A reindeer gives you more room for character details such as antlers, ears, a muzzle, and a red nose. Because several pieces may need to be sewn together, this is better suited to crocheters who are comfortable with basic amigurumi assembly. A current free reindeer keychain pattern demonstrates the construction with separate head, antlers, snout, nose, ears, and facial details. See the original reindeer keychain pattern.
How to Make Christmas Keychains More Durable
A keychain needs slightly different finishing than a decorative crochet piece that stays at home. The attachment point receives the most stress, so reinforce it carefully.
- Sew the attachment loop securely to the crochet fabric.
- Weave yarn ends through several stitches instead of trimming them immediately.
- Avoid placing heavy decorations on a very small keychain.
- Use a sturdy metal ring or clasp appropriate for the project.
- Check the connection before gifting or using the finished piece.
If you are making the project as a bag charm instead of a traditional keychain, a lobster clasp can be especially convenient because it can be moved between bags, backpacks, and zipper pulls.
Making Several Christmas Keychains at Once
Christmas keychains are particularly convenient when you need several small handmade gifts. Instead of making five completely different designs, choose one simple pattern and change the colors or small details.
For example, you could make several green trees with different ornaments, or use the same basic shape with red, white, and green variations. This keeps the construction familiar while still allowing each finished piece to look slightly different.
Small keychains are also a useful way to use leftover yarn from larger Christmas crochet projects. Just make sure the yarn weight and hook combination produces a fabric that is firm enough for the size of the piece.
More Christmas Crochet Keychain Ideas
Once you have made your first project, there are plenty of other small designs worth exploring. You can find more seasonal inspiration in these Christmas crochet keychain ideas, including different shapes and styles that can work as gifts or bag charms.
The basic process remains the same: choose a suitable design, crochet the main shape, add the seasonal details, finish the yarn securely, and attach the hardware. Starting with a simple project makes it much easier to experiment with more detailed Christmas characters later.